Quick Answer
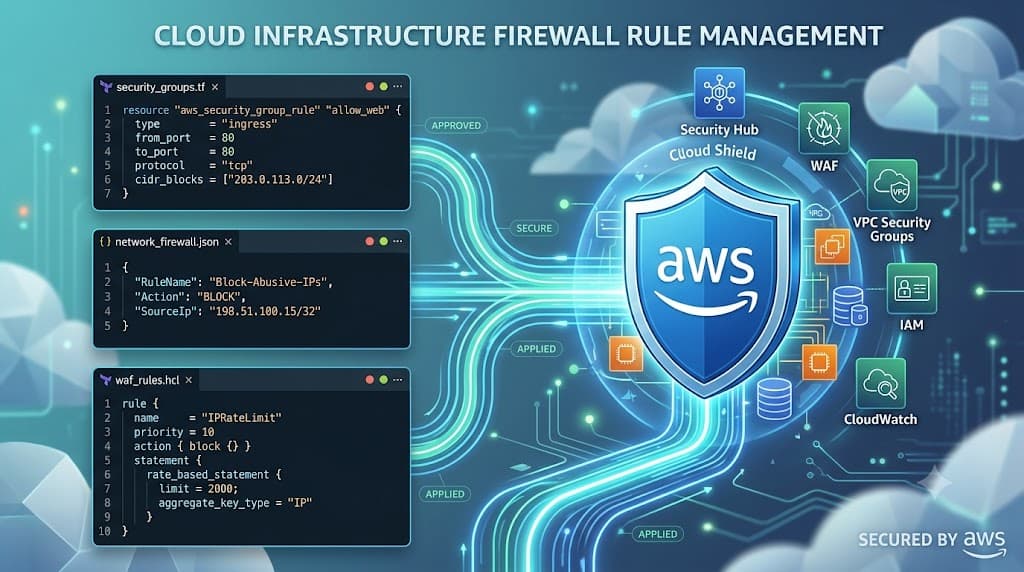
A terraform security group is a core Infrastructure as Code primitive used to define and enforce cloud firewall rules declaratively. Rather than clicking through the AWS Management Console to open ports or restrict CIDR ranges, engineers write HashiCorp Configuration Language (HCL) blocks to version control, review, and automate their virtual firewall configurations. This approach ensures repeatable deployments, clear audit trails, and seamless integration into automated deployment pipelines.
Quick Answer
To manage a firewall rule using Terraform, you define an aws_security_group resource block alongside aws_security_group_rule blocks (or inline ingress and egress blocks) within your HCL configuration. Running terraform plan computes the exact diff against your cloud infrastructure, while terraform apply provisions or updates the firewall rules in AWS. You verify the changes by inspecting the state file, checking the AWS EC2 console, or querying cloud APIs directly via the AWS CLI to ensure ports and source CIDRs match your intended design.
Understanding the Concept
Managing cloud infrastructure declaratively means you describe the desired state of your network security rather than executing imperative CLI scripts or manual console clicks. In traditional environments, network engineers might log into routers or cloud portals to modify rules, introducing human error, configuration drift, and undocumented exceptions. By shifting firewall definitions into source-controlled repositories, teams gain the ability to review network modifications via pull requests before any changes touch live cloud resources.
When working with AWS environments, firewall rules are governed by security groups that act as virtual stateful firewalls for EC2 instances, load balancers, and database clusters. Translating these cloud primitives into HashiCorp Configuration Language allows you to abstract complex networking topologies into reusable modules. Developers and system administrators can spin up standardized application environments with predefined ingress and egress policies without needing deep, manual familiarity with every underlying AWS networking idiosyncrasy.
Furthermore, treating firewall rules as code aligns cloud security with modern software delivery life cycles. Security policies become testable artifacts. Automated linters, static analysis tools, and policy-as-code engines can inspect your HCL files for overly permissive rules—such as an open SSH port to 0.0.0.0/0—long before the code reaches a staging or production environment. This shift-left security posture significantly reduces the attack surface of cloud workloads.
How It Works
Terraform operates by reading configuration files, building a dependency graph of all declared resources, and comparing that graph against a stored record of real-world infrastructure known as the state file. When you declare a security group, the AWS provider translates your HCL into specific API calls directed at the Amazon EC2 endpoint. Understanding the underlying workflow requires examining both the syntax used to write these configurations and the CLI lifecycle commands that execute them.
Syntax and configuration
Writing clean firewall definitions requires an understanding of resource blocks, identifiers, and argument assignments. A typical security group resource requires a name, a description, and a VPC ID. Inside this resource, you can define ingress and egress rules inline or reference them via separate resource blocks. Ingress rules dictate inbound traffic permissions, specifying protocols, port ranges, and authorized source CIDR blocks or referenced security groups. Egress rules govern outbound traffic, which defaults to allowing all traffic outward in many standard configurations but should be locked down in high-security environments.
When structuring your HCL, avoid hard-coding values like VPC IDs or IP ranges. Instead, leverage input variables, data sources, and local values. Data sources allow your Terraform configuration to query existing cloud resources dynamically—such as fetching the default VPC ID or looking up the IP of a CI/CD runner—ensuring your firewall rules remain portable across different environments, AWS regions, and staging accounts without manual code alterations.
CLI workflow
Interacting with Terraform involves a well-defined sequence of CLI commands. First, initialization prepares your working directory by downloading required provider plugins, such as the AWS provider, and setting up backend state storage. Once initialized, running terraform plan generates an execution plan. This command is crucial because it reads your current state file, queries the cloud provider API to check for drift, and displays a detailed preview of what resources will be created, modified, or destroyed.
After reviewing the plan and confirming its accuracy, you execute terraform apply. This command prompts for confirmation (unless auto-approve is specified) and sends the requested creation or modification instructions to the AWS API. Terraform then records the newly provisioned resource IDs, attributes, and dependency mappings into the state file. Finally, when infrastructure is no longer needed, terraform destroy tears down the security group and its associated rules, keeping your cloud environment clean and preventing idle resource costs.
Practical Terraform Example
Below is a complete, production-ready HCL configuration demonstrating how to define a VPC security group that allows secure shell (SSH) and web traffic while restricting outbound access. This example uses variables to maintain flexibility across multiple deployment environments.
terraform {
  required_version = ">= 1.0.0"
  required_providers {
    aws = {
      source  = "hashicorp/aws"
      version = "~> 5.0"
    }
  }
}

provider "aws" {
  region = var.aws_region
}

variable "aws_region" {
  type        = string
  default     = "us-east-1"
  description = "Target AWS region for infrastructure deployment"
}

variable "vpc_id" {
  type        = string
  description = "The identifier of the target VPC"
}

variable "allowed_ssh_cidr" {
  type        = list(string)
  description = "List of CIDR blocks permitted to SSH into instances"
  default     = ["203.0.113.50/32"]
}

resource "aws_security_group" "web_app_sg" {
  name        = "web-app-production-sg"
  description = "Security group controlling inbound web and administrative traffic"
  vpc_id      = var.vpc_id

  ingress {
    description = "Allow HTTP traffic from anywhere"
    from_port   = 80
    to_port     = 80
    protocol    = "tcp"
    cidr_blocks = ["0.0.0.0/0"]
  }

  ingress {
    description = "Allow HTTPS traffic from anywhere"
    from_port   = 443
    to_port     = 443
    protocol    = "tcp"
    cidr_blocks = ["0.0.0.0/0"]
  }

  ingress {
    description = "Allow restricted SSH access"
    from_port   = 22
    to_port     = 22
    protocol    = "tcp"
    cidr_blocks = var.allowed_ssh_cidr
  }

  egress {
    description = "Allow all outbound traffic for updates and dependencies"
    from_port   = 0
    to_port     = 0
    protocol    = "-1"
    cidr_blocks = ["0.0.0.0/0"]
  }

  tags = {
    Environment = "Production"
    ManagedBy   = "Terraform"
    Project     = "WebTier"
  }
}

output "security_group_id" {
  value       = aws_security_group.web_app_sg.id
  description = "The unique identifier of the provisioned security group"
}
Example
When you execute terraform plan against this configuration, the output clearly outlines the actions the AWS provider will take. Terraform will indicate that a new aws_security_group resource named web_app_sg is to be created. It will display the computed attributes, noting that the ID is unknown until application, while listing all three ingress rules and the single egress rule with their exact ports, protocols, and CIDR blocks. Reviewing this plan ensures that no unintended ports are accidentally exposed. Once applied, the output block returns the generated AWS security group identifier, which can then be consumed by downstream infrastructure modules, such as an EC2 instance or an Auto Scaling Group configuration.
Verification
Verifying that your firewall rules have been correctly applied is an essential step in any deployment workflow. Relying solely on a successful CLI exit code is insufficient for production environments; you must confirm that the rules exist in the cloud provider and function as expected.
To verify the deployment locally, you can use the AWS CLI alongside your terminal. Run the following command to query the applied rules directly from Amazon EC2:
aws ec2 describe-security-groups \
  --group-ids $(terraform output -raw security_group_id) \
  --region us-east-1
This command extracts the security group ID directly from your Terraform state outputs and queries AWS, returning a detailed JSON document listing all active ingress and egress permissions. Verify that the returned ports, protocols, and source CIDR blocks match your HCL configuration. Additionally, you can inspect the AWS Management Console under the EC2 dashboard's Security Groups section to visually confirm the tag assignments, description, and rule summaries. For deeper network validation, you can test connectivity from an authorized jump host using network probing tools like netcat or nmap to ensure port 80 and 443 are reachable while unauthorized ports remain blocked.
Common Mistakes
Managing cloud networks as code introduces specific failure modes that engineers frequently encounter. Recognizing these pitfalls helps prevent security vulnerabilities and deployment failures.
One of the most dangerous mistakes is skipping terraform plan and blindly executing terraform apply in production environments. Without reviewing the execution plan, you risk introducing breaking changes, deleting critical firewall rules, or exposing sensitive services to the public internet. Another prevalent error is hard-coding credentials or sensitive IP addresses directly into the HCL files rather than injecting them via environment variables, secure parameter stores, or encrypted input variables.
Misunderstanding state behavior is another frequent source of friction. If someone modifies a security group manually via the AWS console outside of Terraform, a subsequent plan operation will detect configuration drift and attempt to revert the resource back to the HCL-defined state. Failing to account for this can lead to unexpected outages if production hotfixes made in the console are overwritten. Furthermore, using outdated provider arguments or deprecated resource types can cause unexpected deprecation warnings or failed plan executions during provider upgrades.
Best Practices
Adopting rigorous operational standards ensures that your network security configurations remain maintainable, secure, and resilient across teams and environments.
Always utilize a remote backend with state locking enabled, such as an AWS S3 bucket combined with a DynamoDB table. This prevents concurrent write operations from multiple engineers or CI/CD pipelines, which would otherwise corrupt the state file. Implement strict access controls on your state storage buckets, as state files can occasionally contain sensitive attribute values.
Organize your code into modular structures. Instead of placing all networking, compute, and security resources in a single monolithic file, group security groups into dedicated modules. This enables code reuse across microservices and allows security teams to review centralized networking modules independently. Additionally, integrate automated validation and policy-as-code tools into your version control workflows to scan HCL files for compliance violations before merging code.
Troubleshooting
Even with careful planning, unexpected errors can occur during resource provisioning or state synchronization. Knowing how to diagnose and resolve these issues is vital for maintaining uptime.
A common issue arises when attempting to delete a security group that is still actively attached to an EC2 instance or referenced by another security group's rule. The AWS API will reject the deletion request with a dependency violation error. To resolve this, ensure that dependent resources are destroyed first or remove the referencing rules before attempting cleanup. Another frequent issue is state lock conflicts, where a previous pipeline crashed, leaving an active lock in your DynamoDB table. You can inspect the lock ID and force-unlock the state using the Terraform CLI, but you must verify that no other process is actively modifying the infrastructure before doing so.
terraform force-unlock <LOCK_ID>
Always verify that your local CLI version matches the required provider constraints specified in your configuration to avoid unexpected protocol mismatch errors.
📌 Recommended Next Guides & References
  <li>
    <a href="/article/docker-and-kubernetes-how-they-work-together-2" class="text-primary hover:underline font-semibold flex items-center gap-2">
      <span>→</span> <span>Docker and Kubernetes: How They Work Together</span>
    </a>
  </li>

  <li>
    <a href="/article/kubernetes-ingress-explained" class="text-primary hover:underline font-semibold flex items-center gap-2">
      <span>→</span> <span>Kubernetes Ingress Explained: Routing, Controllers, and TLS</span>
    </a>
  </li>

  <li>
    <a href="/article/kubernetes-ingress-controller-explained" class="text-primary hover:underline font-semibold flex items-center gap-2">
      <span>→</span> <span>Kubernetes Ingress Controller Explained: Architecture, Routing, and Implementation</span>
    </a>
  </li>