Quick Answer
Building and deploying autonomous software assistants can often feel overwhelming when faced with fragmented documentation and overly complex configurations. If you have been searching for a practical path to creating your first AI agent, this guide will take you from a fresh software installation to executing a working task using a single realistic project throughout. By following a concrete scenario—parsing and organizing unstructured customer feedback files—you will learn how prompts, tools, model selection, context management, and iterative workflows actually fit together in practice.
🚀 Quick Answer: Getting Started with Hermes Agent
To configure a model and run a simple initial task immediately after installation, you need to initialize your environment variables, define an API key for your chosen Large Language Model provider, and execute a basic command prompt via the Command Line Interface (CLI).
Before diving into complex multi-step automations, let us look at the quickest way to verify your installation works correctly. Assuming you have already completed the package setup, you can run a quick diagnostic prompt to check connectivity and model response times:
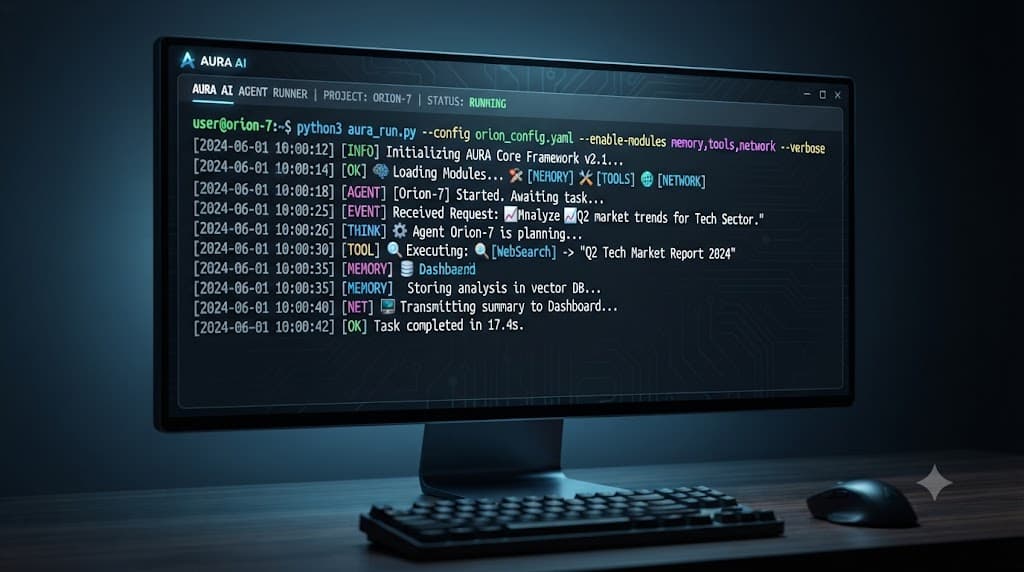
hermes-agent run --model gpt-4o --prompt "Summarize the status of local workspace files."
When you execute this command, the software initializes its runtime engine, connects to the specified LLM endpoint, inspects the designated scope, and prints a formatted response directly to your terminal.
[!TIP] Pro Tip: Always test your model connection with a lightweight read-only command before assigning file-modification or execution permissions to your assistant.
📦 Installation and Hermes Agent Setup
Setting up your environment correctly ensures your assistant has the necessary permissions and dependencies to execute tasks safely. The installation process is straightforward, but taking a few minutes to establish clean configuration files will save you from debugging runtime errors later.
First, ensure you have Python 3.10 or higher installed on your system. Open your terminal and install the framework via pip:
pip install hermes-agent
Once the installation completes, verify the binary is accessible in your path by checking its version:
hermes-agent --version
Next, you need to configure your environment variables. Create a .env file in your working project directory. This file will securely store your LLM provider credentials. Here is a sample structure for your configuration file:
OPENAI_API_KEY=your_api_key_here
HERMES_DEFAULT_MODEL=gpt-4o
HERMES_MAX_ITERATIONS=10
Properly managing these credentials prevents accidental exposure in public code repositories. Make sure your .env file is included in your .gitignore file immediately. Once your environment variables are established, run the initialization command to generate the default configuration directory:
hermes-agent init
This command creates a local configuration folder containing default system prompts, tool permission profiles, and memory store templates. You are now ready to build out our sample project workflow.
🛠️ Executing Your First Task and Command
To make this hermes agent beginner tutorial truly actionable, we will use a single realistic project throughout: processing a directory of raw customer support transcripts (/feedback_raw/), extracting recurring feature requests, and generating a clean markdown summary report.
Begin by creating a test directory containing three sample text files with customer notes. Now, rather than writing a rigid Python script to parse these files, we will instruct our assistant to inspect the directory, read the contents, analyze sentiment, and write out a structured report.
Execute the following command in your project terminal:
hermes-agent task --goal "Read all text files in ./feedback_raw/, extract top three feature requests, and write a summary to ./report.md"
When this command runs, the assistant enters an iterative loop. It first lists the directory contents, then reads each file sequentially, synthesizes the findings in its context window, and finally invokes a file-writing tool to output report.md.
Observing this execution loop teaches you a vital lesson: prompt structure matters. A vague prompt like "organize my data" leads to clarification questions or incorrect assumptions, whereas a specific goal with explicit input and output paths ensures high accuracy on the first attempt.
🧠 Integrating Tools, Memory, and Skills
As your tasks grow more complex, relying solely on basic prompt-and-response execution becomes limiting. To unlock the full power of your assistant, you must understand how tools, memory modules, and custom skills interact within the runtime architecture.
Tools allow the model to interact with the outside world—executing shell commands, querying databases, or calling REST APIs. Memory systems maintain conversational context and episodic logs across multiple sessions, ensuring the assistant remembers preferences or prior file locations. Skills are modular capability packs that bundle specific system instructions with relevant tool sets.
Here is how you enable a custom tool profile in your project configuration file (hermes.yaml):
version: "1.0"
agent:
  name: "FeedbackAnalyzer"
  tools:
    - file_reader
    - file_writer
    - markdown_formatter
  memory:
    backend: "local_vector"
    path: "./.hermes_memory"
  skills:
    - customer_support_parser
By defining these blocks explicitly, you restrict the assistant's operational boundaries. For instance, if the database_query tool is omitted from the configuration list, the model cannot accidentally run destructive SQL queries, even if instructed to do so by an unverified prompt.
[!NOTE] Architectural Note: The memory subsystem indexes past interactions locally, allowing your assistant to retrieve contextual snippets without re-reading entire directory trees on every execution.
⚖️ Interactive Use vs Automated Workflows
Deciding how to deploy your assistant depends entirely on the nature of the task. Understanding the trade-offs between interactive terminal sessions and fully automated background workflows helps you choose the right execution model for your projects.
✓ Interactive Use
- Real-time human supervision and course correction
- Ideal for exploratory analysis and creative drafting
- Immediate feedback on ambiguous instructions
- Low risk of unmonitored system modifications
⚡ Automated Workflows
- Hands-free execution for repetitive data pipelines
- Seamless integration with CI/CD or cron jobs
- Faster processing of bulk multi-file operations
- Requires strict permission boundaries and logging
When building our customer feedback processor, starting with interactive mode allows you to watch the assistant inspect files and refine its parsing logic. Once you verify that the output consistently meets your standards, you can transition the task into an automated cron script or GitHub Action.
🔍 Debugging, Common Mistakes, and Risk Management
Even with a well-configured environment, beginners often encounter roadblocks. Knowing how to diagnose errors, verify tool actions, and avoid common security pitfalls is essential for maintaining a stable development workflow.
One of the most frequent beginner mistakes is giving vague tasks. Instructing an assistant to "clean up the project" without specifying file types or target directories invites unpredictable modifications. Always define explicit boundaries in your prompt goals.
Another critical risk involves granting overly broad permissions. Giving an agent unrestricted shell execution rights (chmod 777 equivalent for tools) can lead to unintended file deletions. Always adhere to the principle of least privilege by enabling only the specific tools required for the immediate task.
[!WARNING] Warning: Never run automated agent workflows with root privileges or against production databases without maintaining a comprehensive audit log and automated rollback strategy.
When debugging failed executions, inspect the verbose runtime logs generated in your local .hermes_logs/ directory. These logs capture the exact prompt chain, tool argument payloads, and error traces returned by the provider, allowing you to pinpoint whether a failure stems from a malformed prompt, an incorrect file path, or a rate-limited API key.