Quick Answer
When managing local development environments or production servers, knowing how to execute a docker remove container operation cleanly is essential. Unused containers accumulate rapidly, consuming valuable disk space and system resources. Whether you are clearing out exited instances or reclaiming storage, understanding the correct command syntax prevents accidental data loss and keeps your host machine tidy.
Quick Answer
To remove a Docker container, use the standard docker rm command followed by the container's ID or name. For example, running docker rm my-container will instantly delete a stopped container from your system. If the container is currently running, the command will fail unless you stop it first or use the force flag. This foundational operation is the cornerstone of effective container lifecycle management.
Find the Container
Before you can delete anything, you need to identify the exact target. Running docker ps only displays active, running instances, which can leave out stopped or exited instances that are cluttering your disk. To view every container on your system regardless of its state, execute the docker ps -a command.
The output displays a comprehensive list featuring the container ID, the image it was built from, creation timestamps, current status, exposed ports, and the assigned name. Reviewing this list carefully ensures you target the correct identifier and avoid accidentally deleting active workloads or crucial services.
Remove a Stopped Container
Once you have identified an exited or stopped instance, removing it is straightforward. Use the docker rm utility along with either its alphanumeric container ID or its friendly name. For instance, executing docker rm 4a3f2b1e0c9d or docker rm web-server-staging will permanently delete that specific container instance from storage.
If the target is successfully removed, Docker will output the container's ID or name directly to your terminal. If the command returns an error stating that the container is running, you must either stop it gracefully or force its removal before proceeding.
Remove a Running Container
Attempting to delete an active container with standard syntax triggers an error message protecting your running applications. If you must delete an active instance without manually stopping it first, you can use the force flag by running docker rm -f container_name.
The force flag instructs the Docker daemon to send a SIGKILL signal to the container's main process, abruptly halting execution and immediately removing the container from your system. While convenient, this approach should be used cautiously in production environments to prevent database corruption or incomplete write operations.
Remove Containers by Name or ID
Docker allows you to target containers using either their unique auto-generated ID or the human-readable name assigned during creation. Using names makes maintenance scripts and daily terminal workflows significantly easier to audit and understand.
If you did not specify a name when launching your container, Docker automatically assigns a memorable combination of famous scientists and adjectives, such as condescending_bohr or adoring_turing. You can pass these names directly into your removal commands just as you would a numerical hash. You can even pass multiple names or IDs separated by spaces in a single command string to delete several targets simultaneously.
Remove Multiple or All Containers
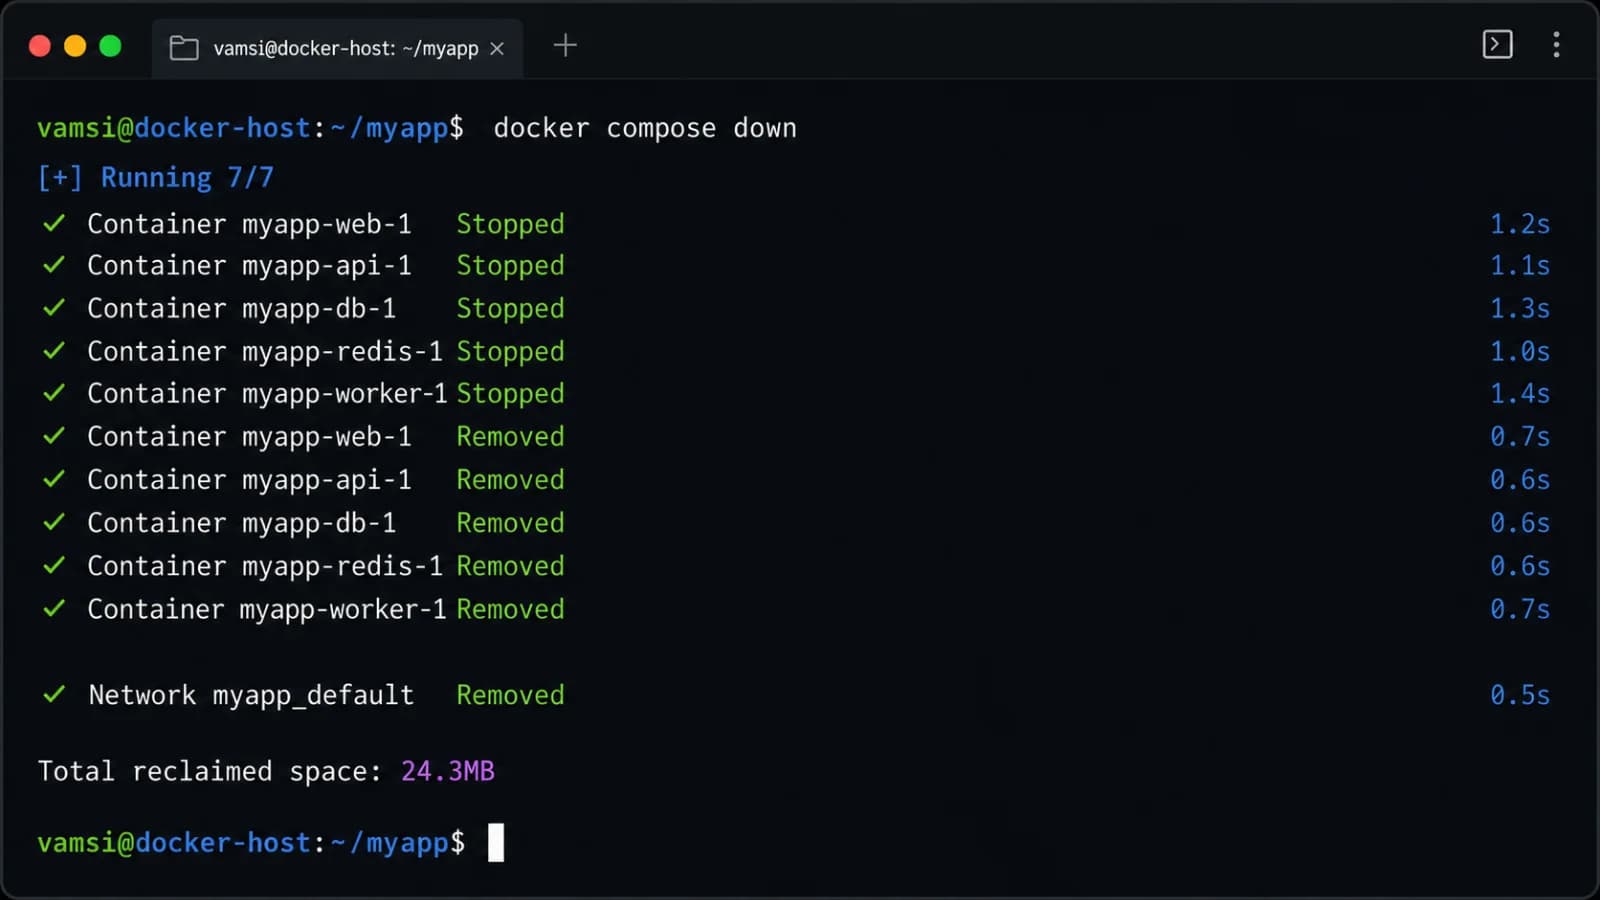
As projects grow, you may find yourself needing to clear out numerous instances at once. Instead of deleting items individually, you can combine utility commands to clean your environment efficiently. By leveraging command substitution, you can target every inactive instance on your host machine in one fell swoop.
A common technique for bulk cleanup involves combining the listing utility with filtering flags. For example, executing docker rm $(docker ps -a -q) queries all container IDs and passes them directly to the removal utility. Always verify your current environment before executing bulk deletion commands to avoid wiping out important work-in-progress containers.
docker container prune
For automated and streamlined cleanup, Docker provides a dedicated management subcommand designed specifically to purge unused resources. Running the docker container prune command safely removes all stopped containers currently residing on your host system.
Before executing the deletion, Docker prompts you for confirmation, displaying an estimate of how much disk space will be reclaimed upon completion. This built-in safety check makes the prune utility an excellent choice for routine maintenance, sparing you from constructing complex shell expansions while keeping your local machine lean.
docker rm vs stop vs rmi
It is common to confuse Docker's various lifecycle management commands because their names sound similar. Understanding the precise distinctions between these commands prevents catastrophic mistakes during routine maintenance.
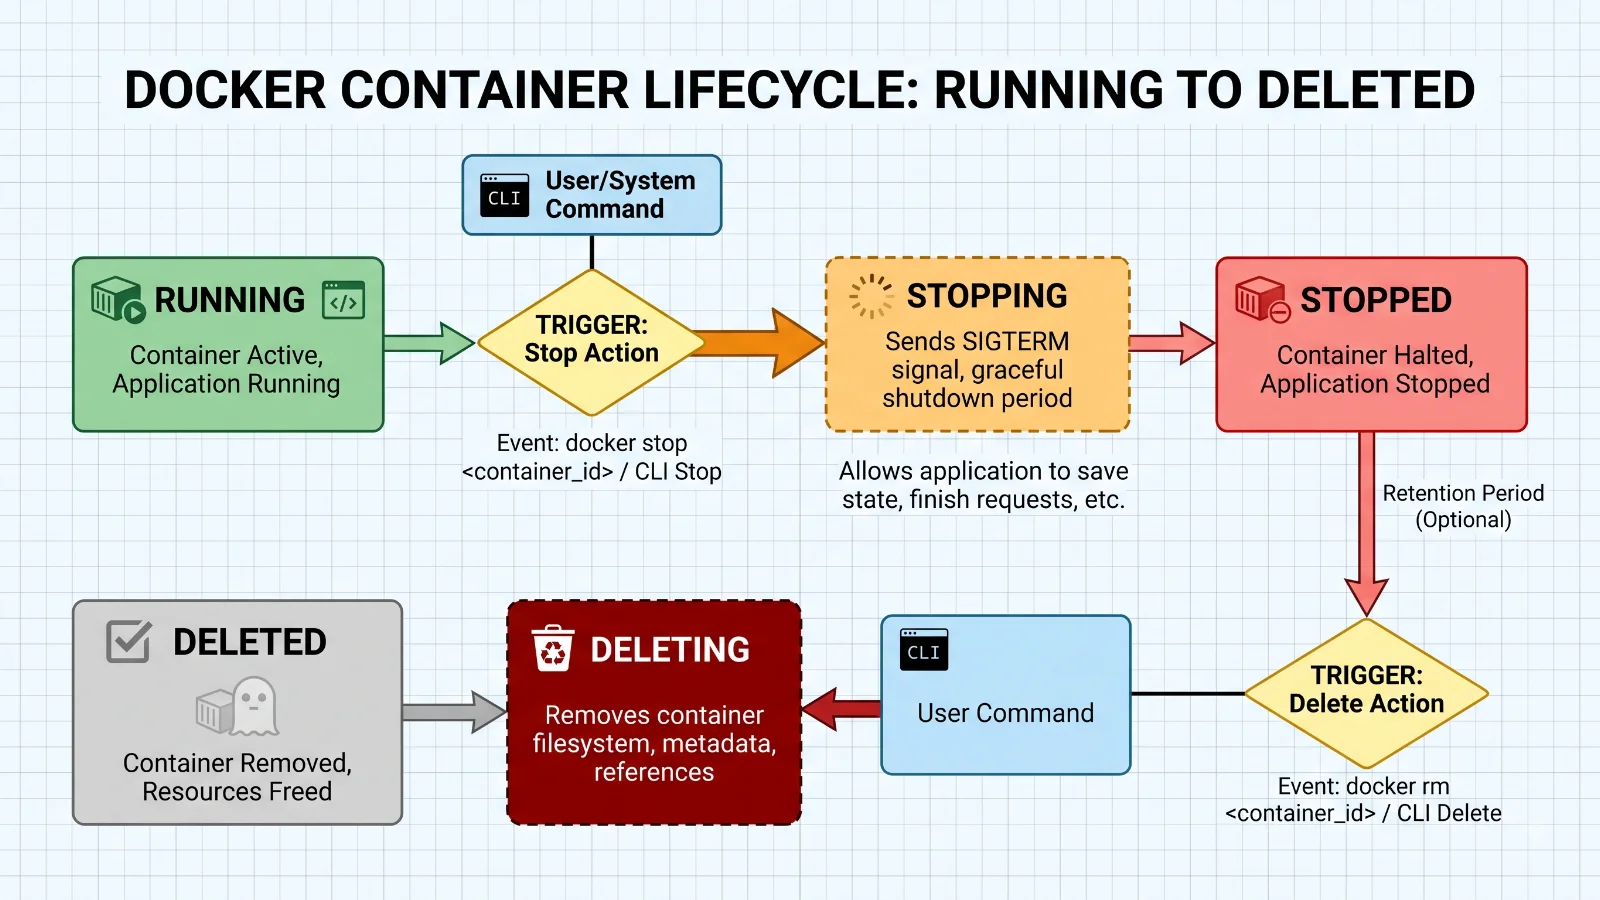
The docker stop command gracefully halts a running container's processes, but preserves the container structure and its associated data on disk. The docker rm command deletes the stopped container entirely, freeing up its specific container layer. Meanwhile, docker rmi targets Docker images—the immutable templates used to build containers—rather than the running instances themselves.
Volumes and Data Safety
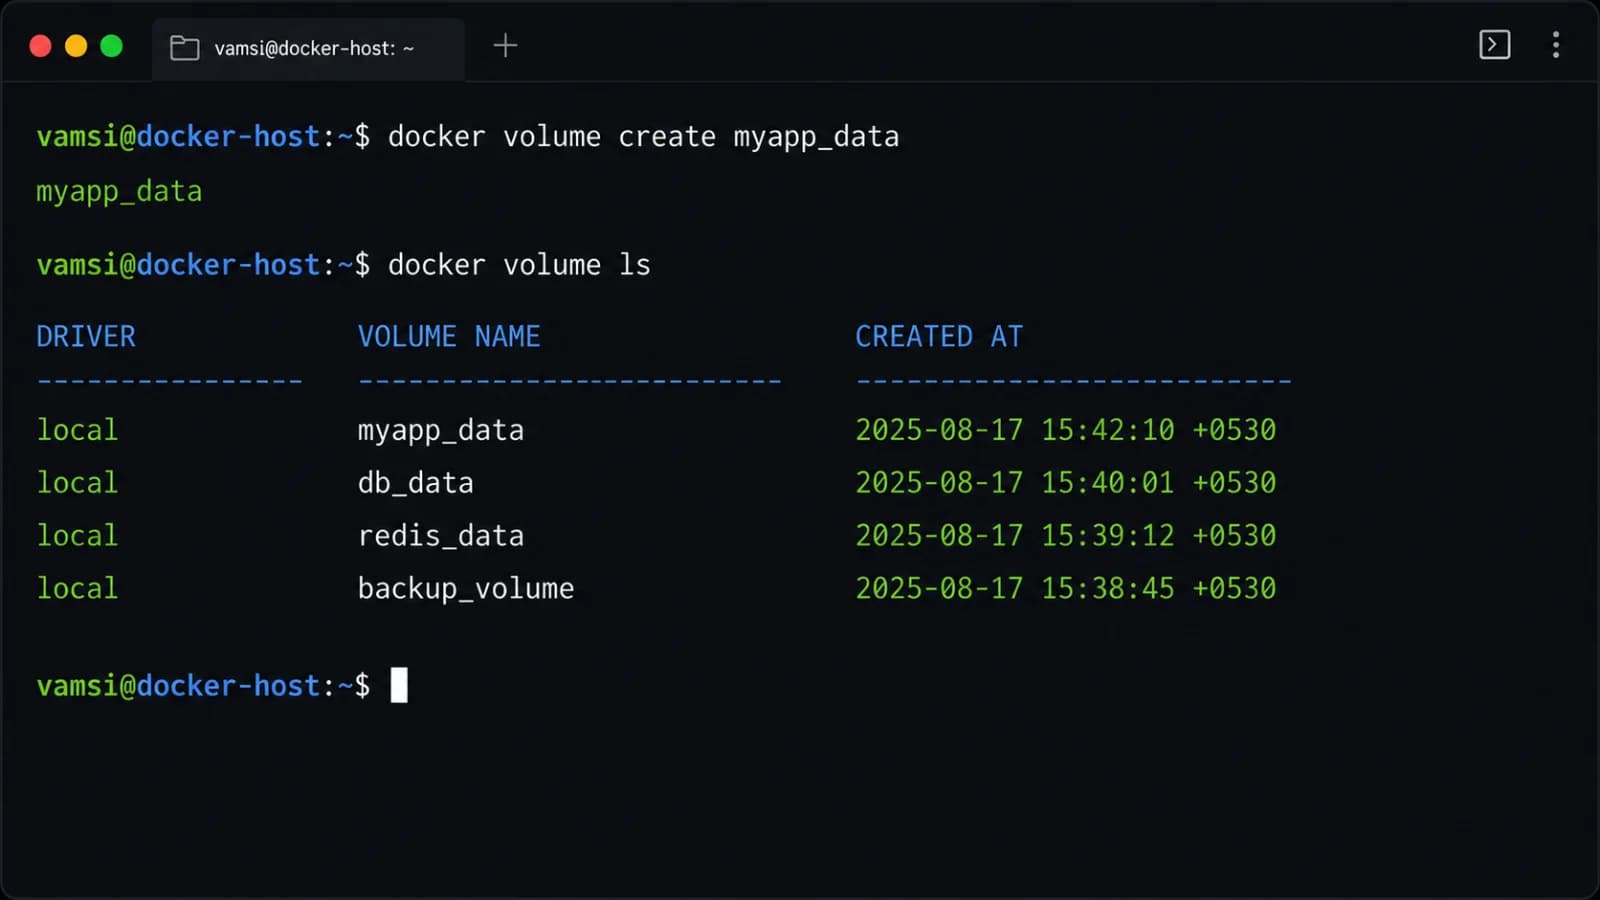
One of the most critical aspects of container management is understanding data persistence. By default, standard container deletion removes the writable container layer, but any data stored inside attached Docker volumes remains intact on the host.
If you want to purge associated anonymous volumes alongside the container during removal, you can supply the -v flag, as seen in docker rm -v container_name. Be extremely careful with this flag, as it permanently deletes unmanaged anonymous volumes and can result in irreversible data loss if you have not backed up your databases or persistent file stores.
Troubleshooting
When a container removal fails, the error message usually points directly to the underlying conflict. The most frequent issue is attempting to delete an active instance without stopping it first, which is easily resolved by adding the force flag or running docker stop beforehand.
Another common hurdle involves permission denied errors on Linux systems, which typically occur when the Docker daemon requires root privileges or your user account is not properly added to the local docker user group. Ensure your user permissions are configured correctly or prepend sudo to your terminal commands when necessary.
Verify Removal
After executing your cleanup commands, it is best practice to confirm that the target instances have been successfully purged from your system environment. Running docker ps -a once more allows you to visually inspect the container list and ensure your workspace is clean.
If the target no longer appears in the output table, the deletion was successful. For automated scripts, you can check the command's exit status code or pipe the output of your listing command into text search utilities to programmatically verify that no lingering artifacts remain.
📌 Recommended Next Guides & References
  <li>
    <a href="/article/docker-and-kubernetes-how-they-work-together-2" class="text-primary hover:underline font-semibold flex items-center gap-2">
      <span>→</span> <span>Docker and Kubernetes: How They Work Together</span>
    </a>
  </li>

  <li>
    <a href="/article/kubernetes-ingress-explained" class="text-primary hover:underline font-semibold flex items-center gap-2">
      <span>→</span> <span>Kubernetes Ingress Explained: Routing, Controllers, and TLS</span>
    </a>
  </li>

  <li>
    <a href="/article/kubernetes-ingress-controller-explained" class="text-primary hover:underline font-semibold flex items-center gap-2">
      <span>→</span> <span>Kubernetes Ingress Controller Explained: Architecture, Routing, and Implementation</span>
    </a>
  </li>