Quick Answer
When you spin up a multi-container application using <a href="/article/mastering-docker-compose-networking-complete-guide" class="text-primary font-semibold hover:underline">docker compose</a> up, Docker automatically provisions a default bridge network for your services. This default setup allows containers to reach each other using their service names as hostnames without requiring manual IP address tracking or complicated host file modifications. For most straightforward applications, this built-in behavior works immediately out of the box, allowing you to run your entire stack with a single command while Docker manages the underlying network namespace isolation and routing.
Quick Answer
To configure a custom network in Docker Compose, you define networks at the root level of your docker-compose.yml file and attach individual services to them using the networks key. For example:
version: '3.8'
services:
  web:
    image: nginx
    ports:
      - "80:80"
    networks:
      - app-net
  db:
    image: postgres
    networks:
      - app-net

networks:
  app-net:
    driver: bridge
Running <a href="/article/mastering-docker-compose-logs-inspection-filtering-troubleshooting" class="text-primary font-semibold hover:underline">docker compose</a> up provisions the app-net bridge network, attaches both containers, and enables automatic DNS-based service discovery so the web service can connect directly to db by name.
How Docker Compose Networking Works
Docker Compose abstracts the complexity of Docker's native networking commands by creating an isolated network for each project file by default. Every time you initialize a project directory with a configuration file, Compose generates a dedicated bridge network. This architectural isolation ensures that different applications running on the same host machine do not accidentally interfere with each other or expose internal traffic across unrelated stacks.
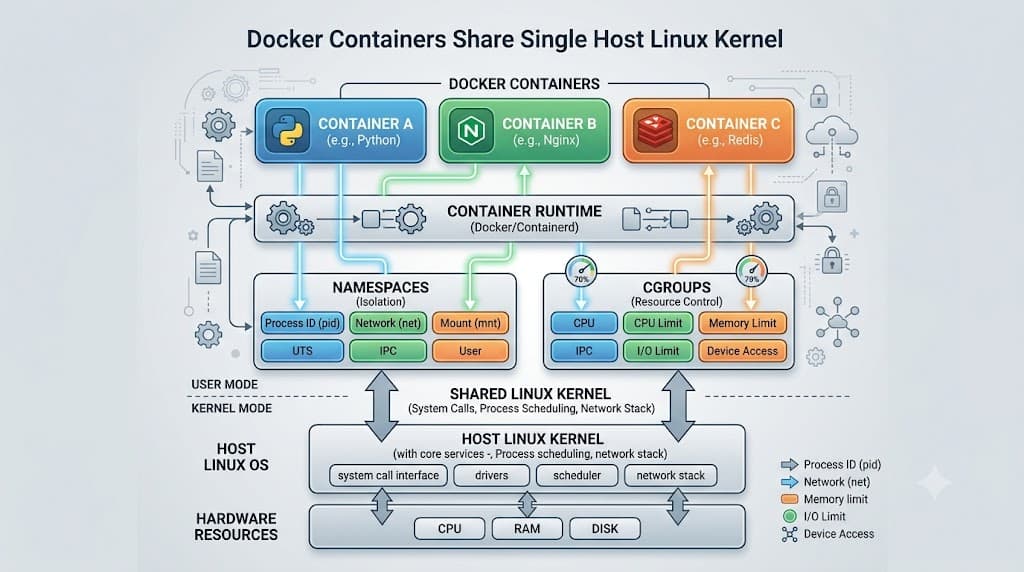
Under the hood, Docker leverages Linux network namespaces, virtual Ethernet pairs (veth interfaces), and software bridges to route packets between containers and the host system. When a container starts inside a Compose network, it receives an IP address assigned from that network's subnet. The embedded Docker DNS server resolves container names to these internal IP addresses dynamically. This means your application code does not need hardcoded IP addresses, making deployments portable across local development machines, staging servers, and production clusters.
Service-to-Service Communication
One of the most powerful features of Docker Compose networking is built-in service discovery. Because Compose automatically configures an internal DNS resolver for each project network, containers can communicate with each other simply by referencing the service name defined in your configuration file. If you have a service named api and another named database, your api container can connect to the database simply by using database as the hostname in its connection string.
This automatic DNS resolution eliminates the need for legacy discovery tools or fragile environment variable IP injection. For instance, a Node.js application can establish a database connection using postgres://user:pass@database:5432/dbname without knowing the container's actual runtime IP address. Furthermore, services on the same custom network can reach each other across all ports, regardless of whether those ports are published to the host machine. Service-to-service traffic flows directly over the internal bridge network, maintaining both security and optimal network performance.
ports vs expose
Managing inbound and internal traffic correctly requires understanding the distinction between the ports and expose configurations in your docker-compose.yml file. The ports directive maps ports from the container to the host machine, making the service accessible to external clients, your local browser, or other networks outside of Docker Compose. For example, mapping - "8080:80" binds port 80 inside the container to port 8080 on the host interface.
In contrast, the expose directive defines ports that are accessible only to linked services on the same network, without publishing them to the host machine. This is ideal for backend databases, caching layers, or internal microservices that should never accept direct traffic from the outside world. Using expose acts as a security safeguard, documenting intended network boundaries while preventing accidental port collisions on your host system. Remember that services on the same Compose network can already talk to all container ports by default, so expose serves primarily as metadata and internal documentation rather than a strict firewall rule.
Create a Custom Compose Network
While the default network is sufficient for simple setups, production and complex multi-tier applications often require custom networks to enforce security boundaries and organize traffic flow. You can define custom networks by adding a top-level networks section to your configuration file and assigning services to specific networks.
version: '3.8'
services:
  frontend:
    image: my-web-app
    networks:
      - frontend-net
  backend:
    image: my-api
    networks:
      - frontend-net
      - backend-net
  database:
    image: postgres
    networks:
      - backend-net

networks:
  frontend-net:
    driver: bridge
  backend-net:
    driver: bridge
    ipam:
      config:
        - subnet: 172.28.0.0/16
In this multi-tier example, the frontend service cannot communicate directly with the database service because they share no common network. Only the backend service straddles both networks, acting as a secure gateway between the web tier and the data tier. You can also define custom subnets using IPAM (IP Address Management) and assign service aliases to make containers reachable under alternative hostnames.
External Networks
Sometimes your Docker Compose application needs to interact with services managed outside its lifecycle, such as a centralized reverse proxy, a shared logging daemon, or a database running in a separate stack. Instead of creating a new network, you can instruct Compose to connect to a pre-existing Docker network using the external property.
version: '3.8'
services:
  web:
    image: nginx
    networks:
      - proxy-net
      - app-net

networks:
  proxy-net:
    external: true
  app-net:
    driver: bridge
When external: true is set, Docker Compose expects a network with that exact name to already exist on the Docker daemon, typically created via docker network create proxy-net or managed by another Compose file. If the network does not exist when you run docker compose up, Compose will return an error and halt startup. This pattern is essential for microservice architectures where multiple independent deployments must share a common ingress or telemetry backbone.
Host Networking
By default, Docker containers run inside an isolated network namespace. However, Docker Compose allows you to change this behavior using the network_mode configuration option. Setting network_mode: host removes network isolation between the container and the Docker host machine, causing the container to share the host's network stack directly.
When using host networking, the container binds directly to the host's network interfaces and IP addresses. If your containerized application listens on port 8080, it is immediately accessible on port 8080 of the host without any port mapping configuration in the ports section. While this mode eliminates network translation overhead and simplifies certain monitoring or low-level packet-capture tools, it introduces significant trade-offs. Host mode is platform-dependent—while fully supported on Linux, it behaves differently or requires workarounds on Docker Desktop for macOS and Windows due to virtual machine abstraction layers. Furthermore, host mode compromises container port isolation, meaning two containers cannot bind to the same host port simultaneously.
Inspect and Troubleshoot Networks
When connectivity issues arise between containers, Docker provides powerful command-line tools to inspect and diagnose network states. Start by listing all active networks on your daemon using docker network ls to verify that your Compose project networks were created successfully with the expected driver.
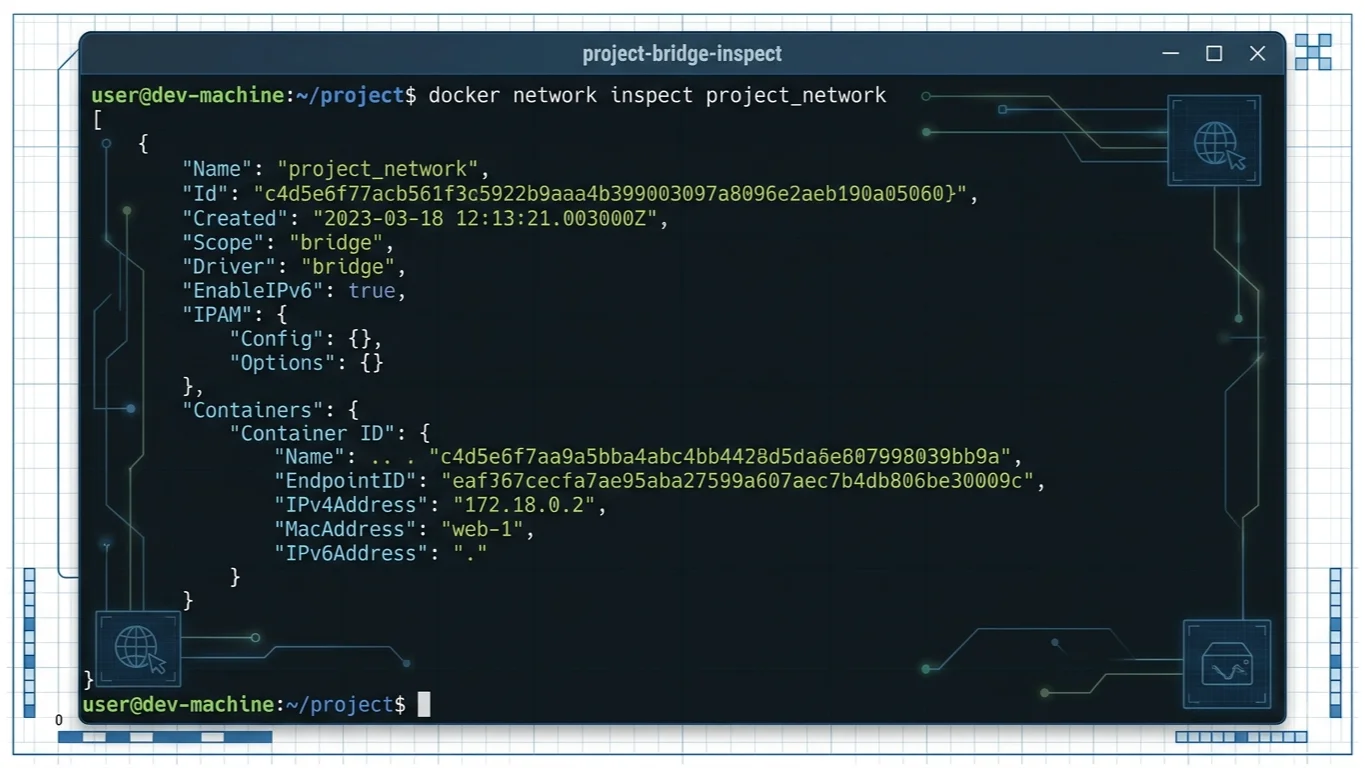
To examine detailed configuration, IP assignments, and attached containers for a specific network, run docker network inspect <network_name>. This JSON-formatted output reveals every container connected to the network along with its internal IPv4 and IPv6 addresses. If you need to test live connectivity between running services, you can execute an interactive shell or run diagnostic commands directly inside a container using docker compose exec <service_name> sh. From there, use tools like ping, nc (netcat), or curl <service_name> to verify whether DNS resolution and TCP port connectivity are functioning correctly between containers.
Common Networking Mistakes
Navigating Docker Compose networking often leads to a few common pitfalls that can trip up both beginner and experienced developers. One frequent mistake is attempting to use localhost or 127.0.0.1 inside container environment variables to communicate with another service in the same Compose file. Because each container runs in its own network namespace, localhost refers strictly to the container itself, not the host machine or neighboring containers; service names must be used instead.
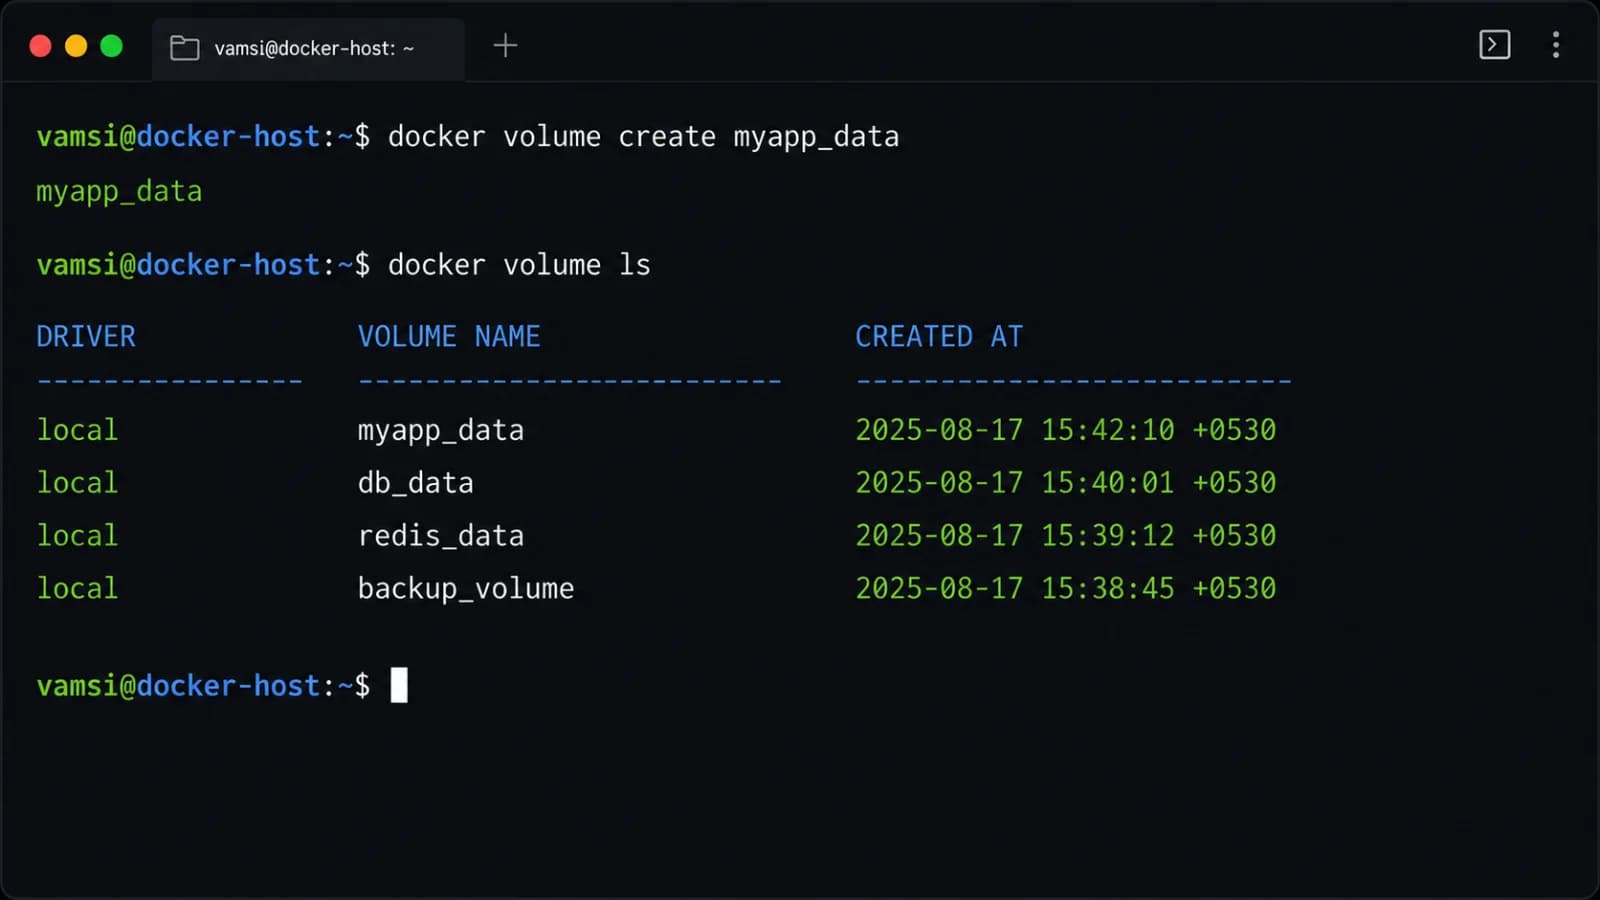
Another common error involves misunderstanding port publishing rules. Developers often mistakenly believe they must add container ports to the ports section for internal service-to-service communication, cluttering host port assignments and exposing unnecessary attack surfaces. Remember that containers on the same network can communicate across all ports without host mapping. Finally, data-safety mistakes occur when containers are recreated without persistent volumes attached to custom database networks, leading to unexpected connection drops or state loss during network resets.
📌 Recommended Next Guides & References
  <li>
    <a href="/article/docker-and-kubernetes-how-they-work-together-2" class="text-primary hover:underline font-semibold flex items-center gap-2">
      <span>→</span> <span>Docker and Kubernetes: How They Work Together</span>
    </a>
  </li>

  <li>
    <a href="/article/kubernetes-ingress-explained" class="text-primary hover:underline font-semibold flex items-center gap-2">
      <span>→</span> <span>Kubernetes Ingress Explained: Routing, Controllers, and TLS</span>
    </a>
  </li>

  <li>
    <a href="/article/kubernetes-ingress-controller-explained" class="text-primary hover:underline font-semibold flex items-center gap-2">
      <span>→</span> <span>Kubernetes Ingress Controller Explained: Architecture, Routing, and Implementation</span>
    </a>
  </li>