Quick Answer
When managing multi-container applications, developers often need a clean and reliable way to tear down their test environments without leaving orphaned resources behind. The command you need for this job is <a href="/article/mastering-docker-compose-networking-complete-guide" class="text-primary font-semibold hover:underline">docker compose</a> down. It serves as the primary tool for stopping and removing all the containers, networks, and optional components defined in your project configuration file. Unlike a simple pause or suspension, this operation completely dismantles the active deployment while keeping your source code and underlying image definitions intact.
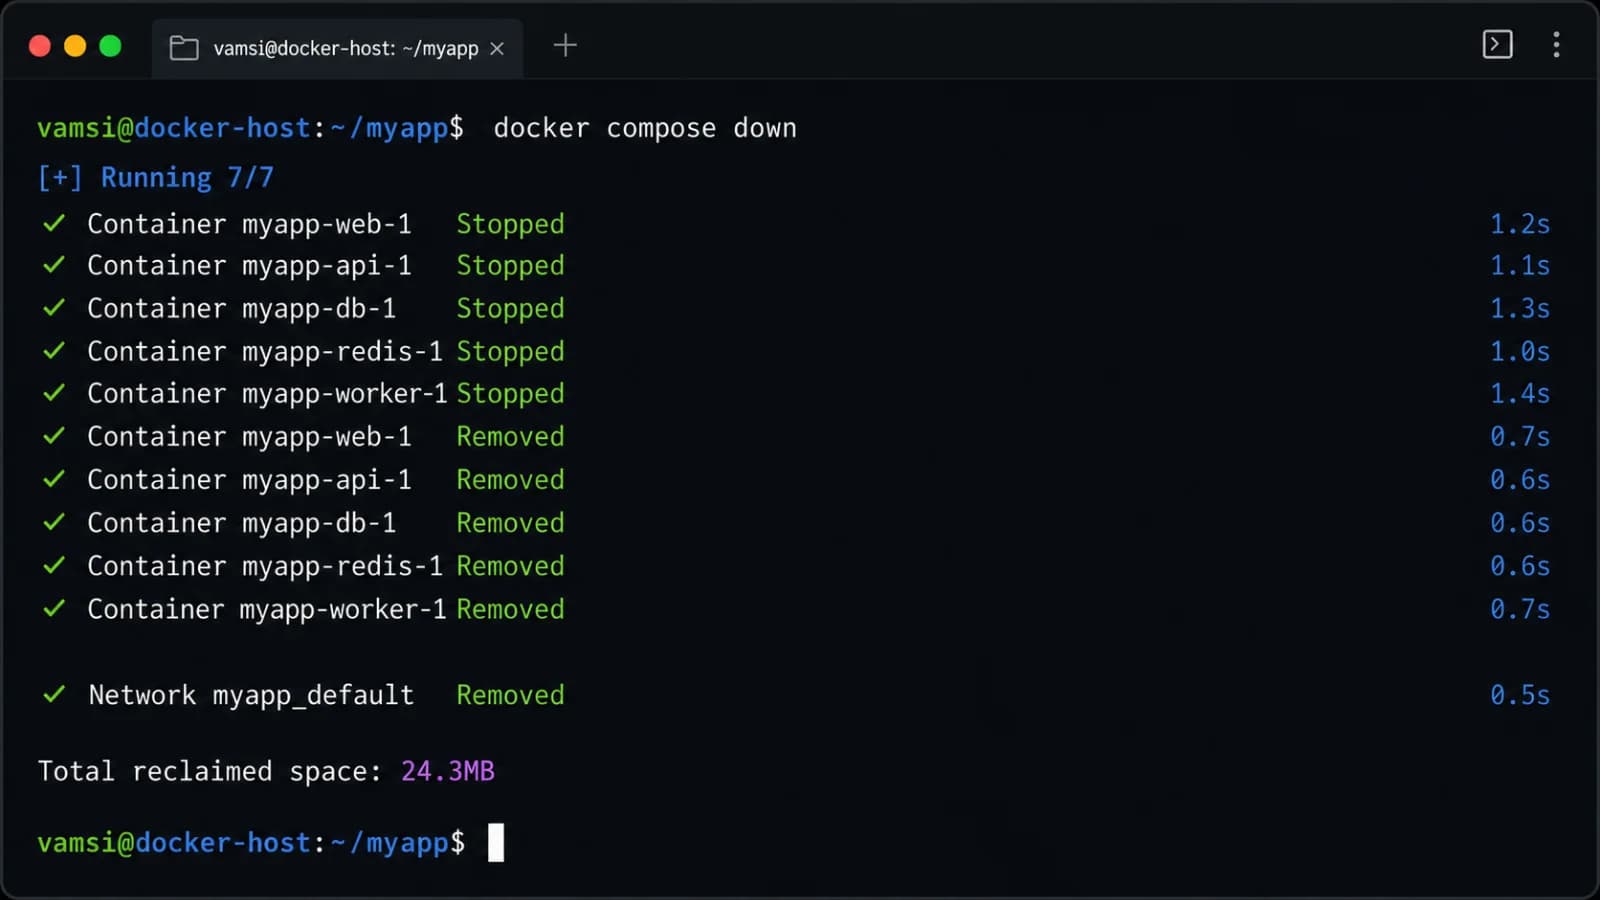
Executing a basic <a href="/article/mastering-docker-compose-networking-practical-guide" class="text-primary font-semibold hover:underline">docker compose</a> down example is straightforward. When you run this command inside the directory containing your project configuration, Docker reads the file, identifies every running or stopped container associated with that project, and systematically halts them. Once stopped, it deletes the containers and removes any custom bridge or overlay networks that were automatically generated when you first brought the environment up. This returns your working directory and system state to a clean slate, ensuring no lingering processes consume system memory or block network ports.
Quick Answer
The most common question developers ask is what command to execute to completely clear out a running project stack. The simplest correct command is simply running <a href="/article/docker-compose-environment-variables-complete-guide-2" class="text-primary font-semibold hover:underline">docker compose</a> down in your terminal within the same directory as your project manifest file. This immediately stops all active containers belonging to that specific project, deletes their container instances from the host system, and tears down the dedicated Docker networks that allowed those services to communicate with one another. If you want a more comprehensive teardown that also wipes out associated persistent volumes, appending the volume flag changes the behavior significantly. This command is essential for developers shifting between feature branches, debugging fresh deployments, or cleaning up resource-heavy staging environments on local workstations without risking permanent code loss.
What docker compose down Removes
Understanding the exact footprint of your deployment lifecycle requires knowing precisely what resources get deleted when you execute a teardown command. By default, running a standard project shutdown targets two primary resource categories: containers and networks. First, it locates every container instance defined in your deployment manifest, sends a polite termination signal, waits for processes to exit gracefully, and then forcefully removes the container instances from the Docker daemon storage. Second, it sweeps away any networks that were spun up specifically to bridge communication between your services, such as database backends connecting to web servers.
It is equally important to understand what remains untouched during a standard teardown execution. Your original configuration files, environment variables files, and application source code are completely safe. Furthermore, named volumes holding persistent database records, along with cached local container images, are preserved by default unless you explicitly instruct the CLI to purge them using dedicated flags. This safety-first design prevents accidental data catastrophes while still providing a thorough clean-up of transient runtime artifacts that would otherwise clutter your development machine over time.
docker compose down vs stop vs rm
To manage application lifecycles effectively, you must understand the nuanced differences between stopping, removing, and tearing down an entire multi-container stack. Each command operates at a different layer of container persistence and resource allocation. Choosing the right command depends entirely on whether you intend to resume work immediately or completely discard the current runtime environment.
The Role of docker compose stop
See also: stop running Docker containers safely
The docker compose stop command focuses solely on halting the execution of running containers within your project. When you issue a stop command, Docker sends a termination signal to the main processes inside each container, causing them to shut down gracefully. However, the container instances themselves, along with their writable file system layers, allocated IP addresses, and associated networks, remain fully intact on your disk. This makes stopping ideal for brief pauses, such as when you want to free up system RAM temporarily or test a quick configuration change without losing runtime state. You can bring everything back instantly by running a start command.
The Role of docker compose rm
See also: removing Docker containers
In contrast, docker compose rm deals directly with stopped containers, removing them entirely from disk storage. You cannot run an rm command on currently active containers unless you force the operation. Once containers are removed via rm, any unsaved data residing inside their ephemeral writable layers is permanently lost. However, rm does not touch active networks, nor does it shut down running services automatically if they are still active. It is a lower-level utility often used in automated scripts or specialized cleanup routines when specific container instances need purging without tearing down the entire project network topology.
Comparing Down Against Stop and Rm
Putting these commands side by side clarifies their distinct operational boundaries:
docker compose stop: Halts running containers. Preserves containers, networks, volumes, and images. Allows instant resumption.docker compose rm: Deletes stopped containers. Preserves networks, volumes, and images. Requires containers to be stopped first.docker compose down: Combines stopping and removal. Destroys containers and networks. Preserves volumes and images by default, with flags available to alter that behavior.
Useful docker compose down Options
Advanced users often need granular control over what gets deleted during a project teardown. The CLI provides several powerful flags that modify the default behavior to suit different development, testing, and CI/CD pipeline requirements. Mastering these options allows you to tailor your cleanup workflow precisely to your infrastructure needs.
Managing Images with --rmi
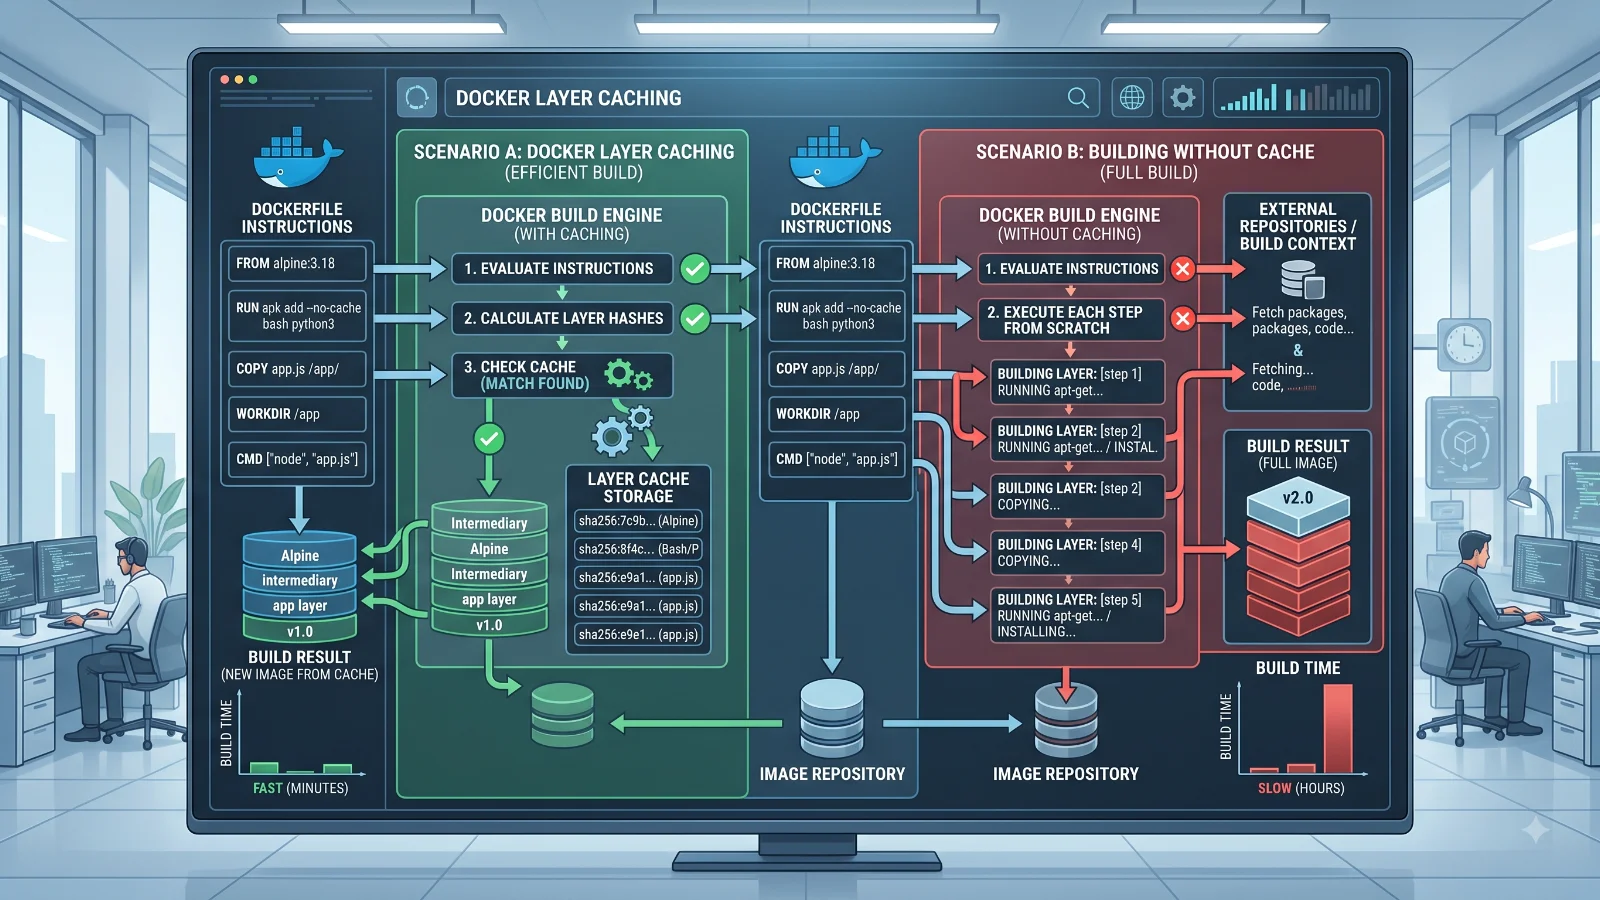
By default, tearing down a stack leaves your local container images cached so that subsequent builds execute much faster. However, if you are troubleshooting build caching issues, updating base images, or reclaiming disk space on a crowded workstation, you can use the --rmi flag. Passing --rmi local removes any custom images built from a Dockerfile within your project, while passing --rmi all removes any image used by any service defined in the file, including official upstream images pulled from public registries. This ensures a completely fresh pull the next time you initialize your services.
Timeout and Force Control
In scenarios where containers hang during shutdown due to stuck database transactions or unresponsive background workers, default graceful timeouts can stall your terminal. You can override the default waiting period by specifying a custom timeout using the --timeout flag followed by the number of seconds you are willing to wait before Docker resorts to a forced kill signal. Combining timeout controls with project-wide cleanup commands ensures your automation scripts never hang indefinitely waiting for stubborn processes to exit.
How to Preserve or Remove Volumes
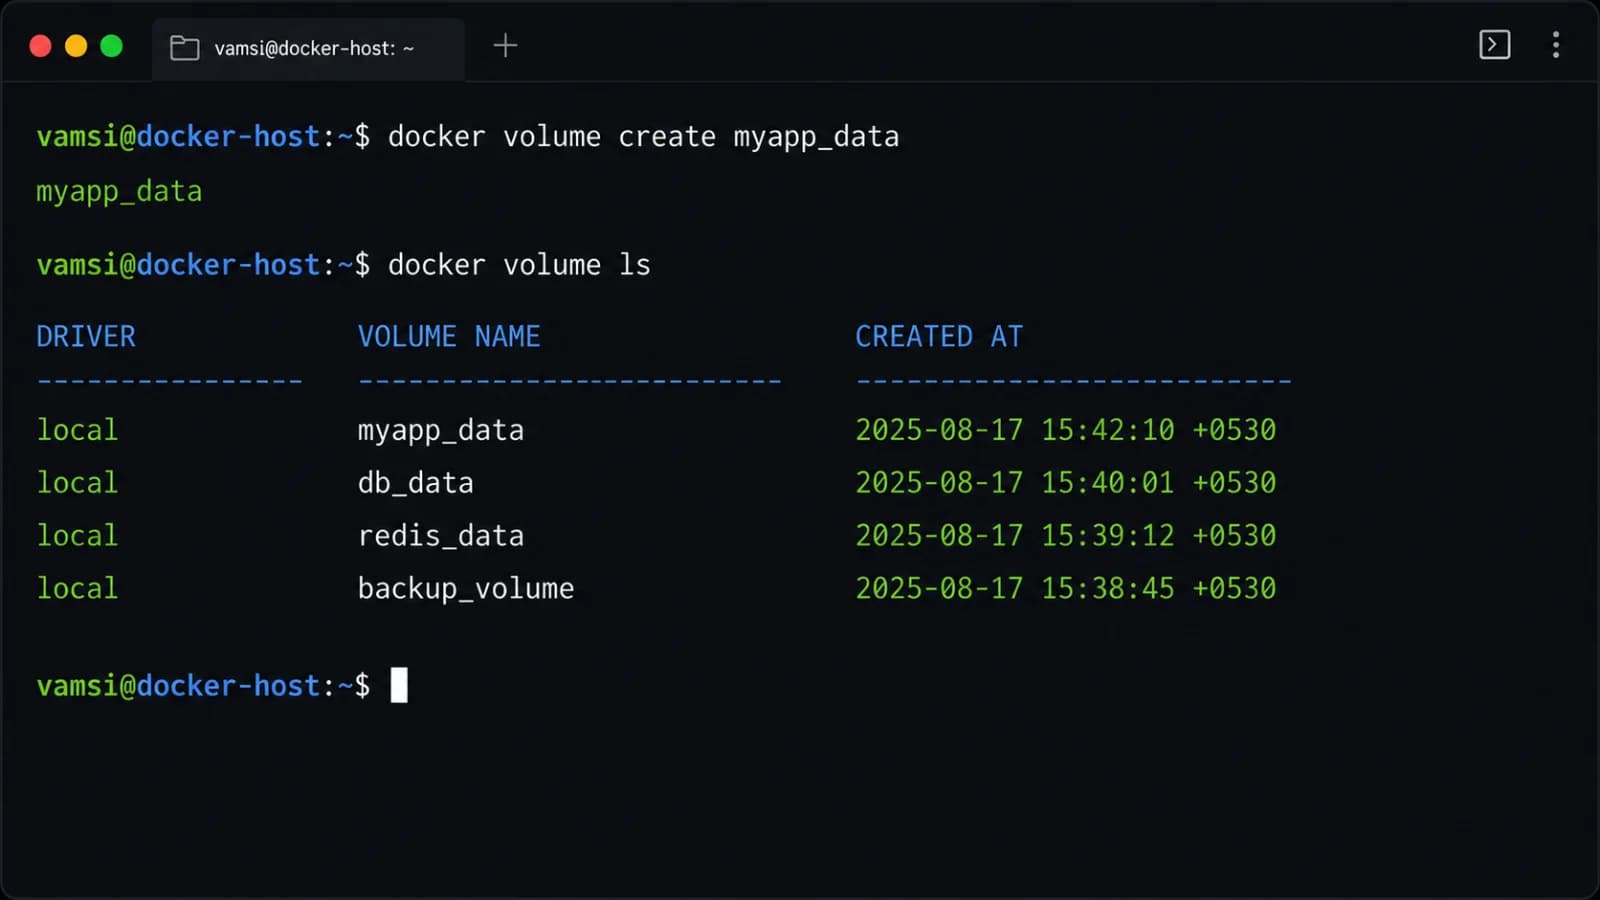
Data persistence is one of the most critical considerations when tearing down containerized environments. By default, named volumes and anonymous volumes containing database files, uploaded media, or logs are preserved when you run a standard teardown command. This protective measure ensures that dropping your containers does not accidentally wipe out weeks of development database records or user uploads.
However, there are many situations—such as running automated test suites, resetting a corrupted database state, or cleaning up staging servers—where you want to wipe everything clean. To remove all named and anonymous volumes associated with the project, you must explicitly pass the volume flag. This single character flag instructs the engine to locate every volume declared in your configuration file and permanently delete them from the host storage driver. Always double-check your database backup status before executing a volume-deleting teardown in any environment containing real data.
Bringing Services Back with docker compose up
One of the greatest benefits of a clean teardown is the ability to recreate your entire infrastructure from scratch with absolute reproducibility. After executing a project teardown, your source configuration files remain intact on your disk. Whenever you are ready to resume development or deploy updates, you can bring the entire stack back online by running docker compose up -d.
When you run this startup command, Docker reads your configuration file, recreates the necessary networks, provisions fresh container instances, attaches any required volumes, and starts your services in detached mode. This guarantees that your application starts from a pristine, known-good state every single time, eliminating hidden bugs caused by stale container state, accumulated temp files, or unmanaged drift between local development iterations.
Troubleshooting
Even with a robust toolset, developers occasionally run into roadblocks where teardown commands fail or behave unexpectedly. Knowing how to diagnose and resolve these edge cases keeps your workflow smooth and prevents frustrating terminal lockups.
Resolving Stuck Containers and Timeouts
If a teardown command appears frozen, it is almost always because a containerized application is ignoring the initial shutdown signal and refusing to terminate its internal child processes. You can resolve this by passing an aggressive timeout override to force an immediate SIGKILL signal. Another common issue arises when external processes or manual volume mounts lock up network interfaces or loopback devices, preventing the daemon from deleting project networks. In these rare cases, restarting the Docker daemon service on your host machine clears dangling locks and allows normal teardown operations to resume.
Addressing Permission and Daemon Errors
Permission denied errors often occur when containers running as the root user create files on host-mounted volumes. When you attempt to clean up or delete those volumes, the host operating system restricts the deletion because the files are owned by the root user rather than your local user account. Fixing this typically requires adjusting volume ownership or running administrative clearance commands on your host system before the teardown utility can successfully sweep away the persistent storage layers.
Common Mistakes
Navigating container lifecycles involves avoiding several subtle pitfalls that can lead to unexpected data loss, broken configurations, or wasted time.
Targeting Single Containers or Services Incorrectly
A very common mistake among beginners is trying to run project-wide teardown commands to target a single isolated container or a single service within a massive multi-service architecture. Developers frequently search for syntax to tear down just one component, forgetting that project-wide commands operate on the entire stack defined in the manifest. If you only want to stop or restart a single service without affecting the rest of your application stack, you should use targeted service commands instead of project-wide teardown utilities.
Overlooking Data Safety and Volume Flags
Another frequent error is blindly copying and pasting aggressive command flags into production or staging terminals without verifying what they target. Appending volume flags during routine maintenance can instantly destroy valuable database records if you assumed the command only stopped transient containers. Always verify your environment context and understand the exact implications of volume and image removal flags before pressing enter.
Bringing It All Together
Effective container lifecycle management relies on understanding the exact boundaries between stopping, removing, and tearing down your infrastructure. By leveraging project teardown commands correctly, you ensure your local and testing environments remain clean, reproducible, and free of orphaned resource leaks. Combine mindful volume preservation practices with targeted flags when you need a deep clean, and you will maintain a fast, reliable, and frustration-free development workflow across every project you build.
📌 Recommended Next Guides & References
  <li>
    <a href="/article/docker-and-kubernetes-how-they-work-together-2" class="text-primary hover:underline font-semibold flex items-center gap-2">
      <span>→</span> <span>Docker and Kubernetes: How They Work Together</span>
    </a>
  </li>

  <li>
    <a href="/article/kubernetes-ingress-explained" class="text-primary hover:underline font-semibold flex items-center gap-2">
      <span>→</span> <span>Kubernetes Ingress Explained: Routing, Controllers, and TLS</span>
    </a>
  </li>

  <li>
    <a href="/article/kubernetes-ingress-controller-explained" class="text-primary hover:underline font-semibold flex items-center gap-2">
      <span>→</span> <span>Kubernetes Ingress Controller Explained: Architecture, Routing, and Implementation</span>
    </a>
  </li>