Quick Answer
Quick Answer
To remove a Docker container, use docker rm <container_id_or_name> for a stopped container, or docker rm -f <container_id_or_name> to force-remove one that's still running. Run docker ps -a first if you need to find the container's ID or name. The sections below cover every variation of this — stopped containers, running containers, removing several at once, and the bulk cleanup command most people are actually looking for.
Finding Containers with docker ps -a
Before you can remove anything, you need to know what's actually there. The regular docker ps command only shows running containers, which is why a container you stopped yesterday seems to "disappear" — it's still on disk, just hidden from the default view.
docker ps -a
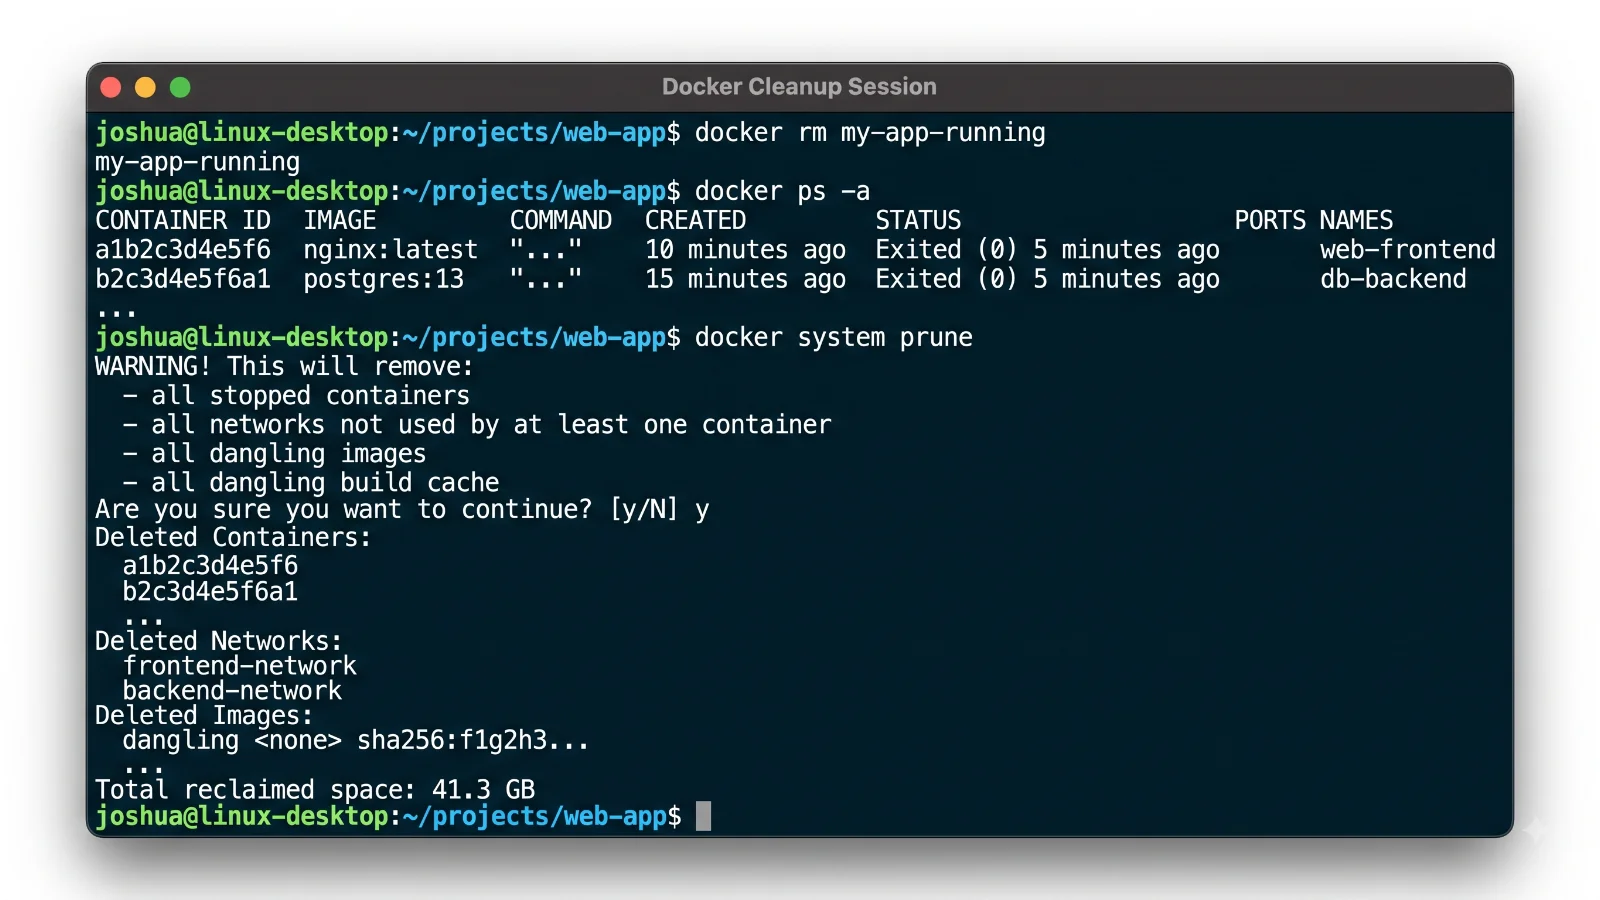
This lists every container regardless of state, along with its CONTAINER ID, image, status (Up, Exited, Created), and name. You can target a container using either its full ID, just the first few characters of the ID (Docker only needs enough characters to be unambiguous), or its name.
Removing Stopped Containers with docker rm
For a container that's already stopped, docker rm is all you need:
docker rm my_stopped_container
or by ID:
docker rm 4a5b6c7d8e9f
If the container is running, this command will refuse and return an error — that's intentional. Docker won't let you silently delete something that's actively in use.
Removing Running Containers Safely
For more detail, see stop a Docker container safely.
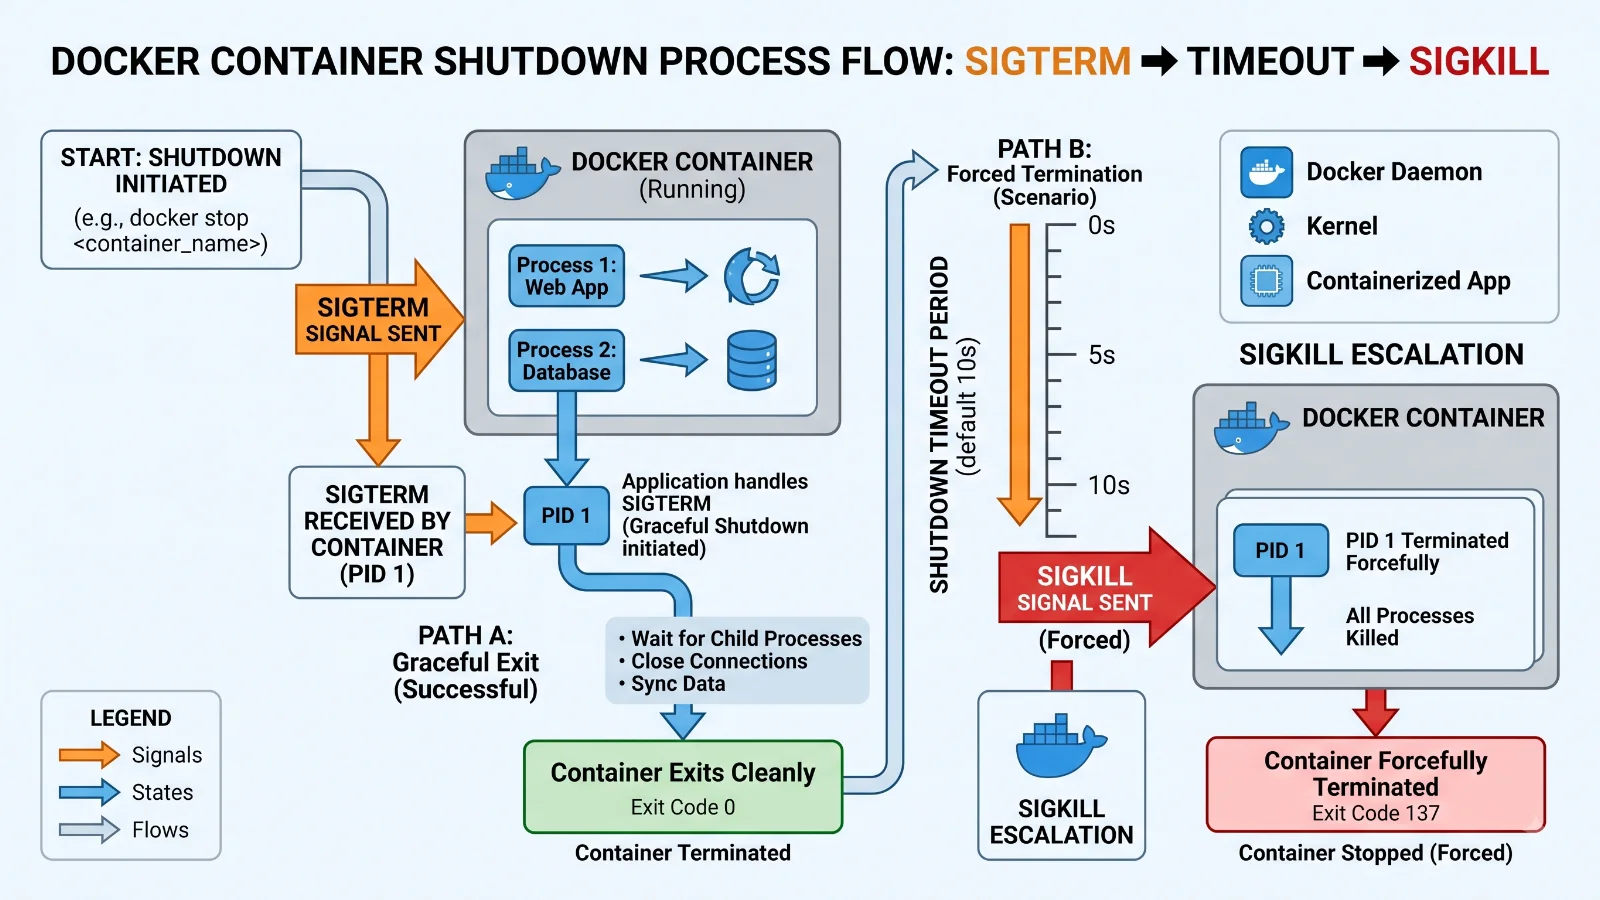
The safer way to remove a running container is to stop it first, then remove it as two separate steps. This gives the container's main process a chance to shut down cleanly (Docker sends SIGTERM, waits, then SIGKILL if it hasn't exited):
docker stop my_running_container
docker rm my_running_container
This matters more than it sounds — a database container that gets killed mid-write behaves very differently from one that was told to shut down first. If you're not in a hurry, always prefer stop-then-remove over force-removal. For containers that won't stop cleanly, see our guide on restarting Docker containers for troubleshooting steps that also apply here.
Force Removing Containers with docker rm -f
When you need it gone immediately — a stuck test container, something in a broken state — docker rm -f combines stop-and-remove into one step:
docker rm -f my_running_container
This sends SIGKILL directly, skipping the graceful shutdown window. It's fast and reliable, but treat it as a last resort rather than a habit — any in-flight writes or unsaved state in the container are lost the instant the process dies.
Removing Multiple Containers at Once
docker rm accepts more than one target in a single command:
docker rm container_one container_two container_three
A common pattern is combining this with docker ps -a to remove every stopped container in one line:
docker rm $(docker ps -a -q -f status=exited)
-q outputs only the container IDs, and -f status=exited filters to just the stopped ones, so this won't touch anything currently running.
Bulk Cleanup with <a href="/article/docker-container-vs-virtual-machine-2" class="text-primary font-semibold hover:underline">docker container</a> prune
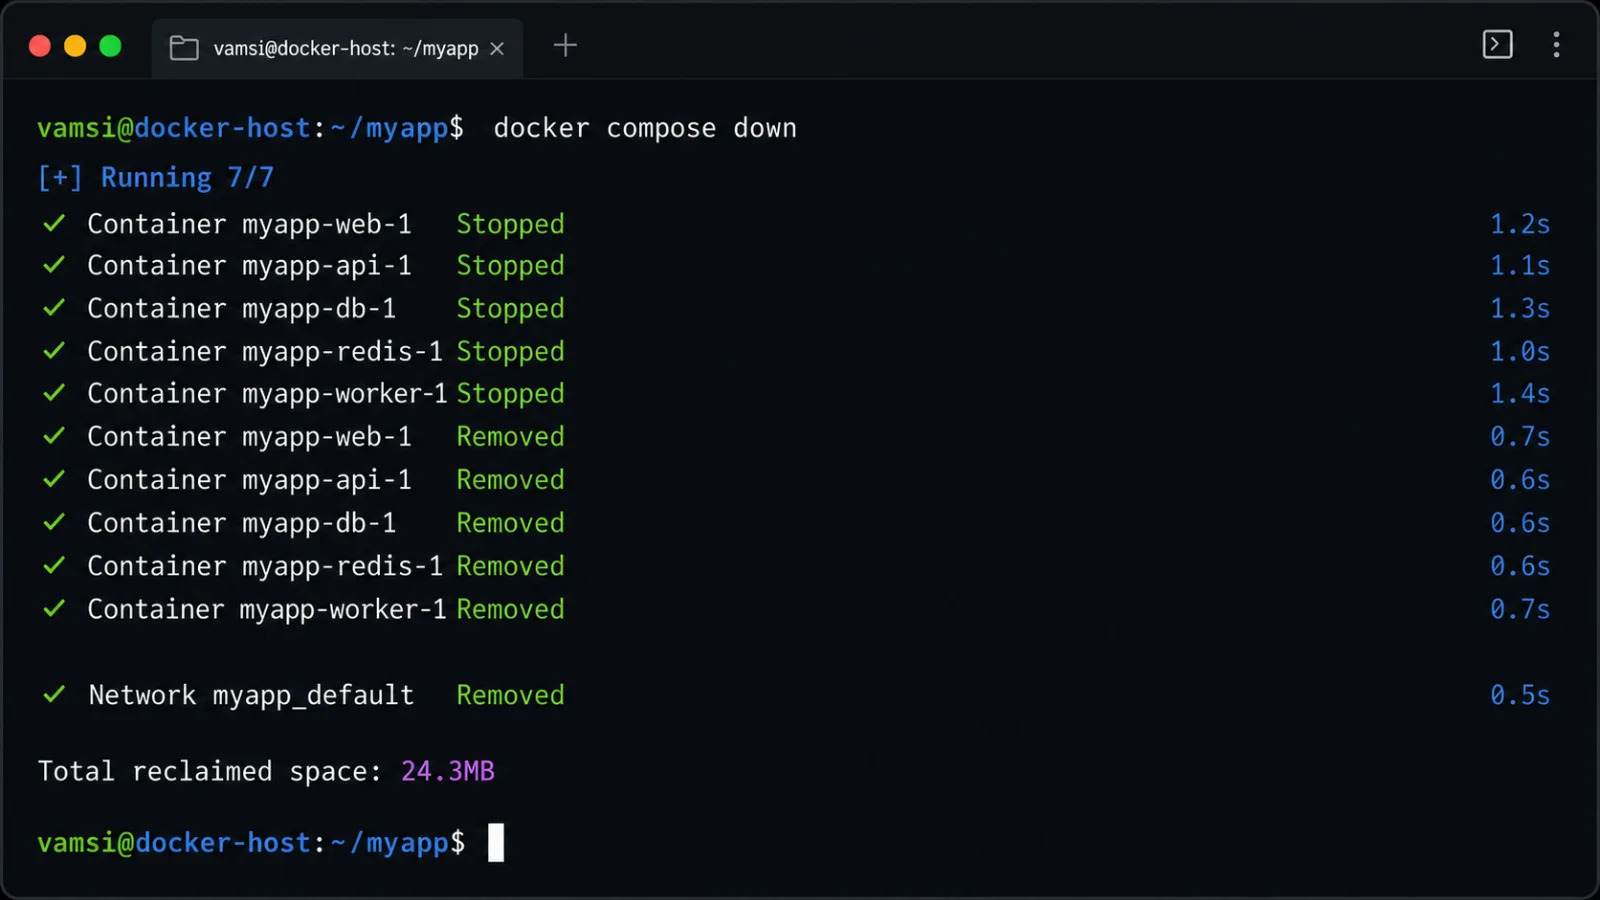
For more detail, see docker compose down.
If you just want to clear out everything stopped without composing a filtered command yourself, docker container prune does exactly that:
docker container prune
Docker will show you what it's about to remove and ask for confirmation before deleting anything. Skip the prompt (useful in scripts) with:
docker container prune -f
This is the fastest way to reclaim disk space from accumulated stopped containers, and it's the command most people are actually reaching for when they search for "docker rm all containers."
docker rm vs docker stop vs docker rmi
These three commands get confused constantly because they sound similar but do very different things:
docker stop— halts a running container's process but leaves the container itself on disk. You can start it again later withdocker start.docker rm— deletes the container instance entirely (must be stopped first, unless you use-f). The container's writable layer is gone for good.docker rmi— removes a Docker image, not a container. Images are the templates containers are created from; you generally can't remove an image while a container based on it still exists.
If you're seeing an error while trying to delete an image, it's almost always because a container built from it is still around — remove the container first, then the image.
Warning: Persistent Volumes and Data Loss
For more detail, see Docker volumes and persistent storage.
Removing a container deletes its writable layer, but data written to a named or mounted volume is not touched — that's the entire point of using volumes. However, anonymous volumes (ones Docker created implicitly, without a name) are easy to lose track of: docker rm alone doesn't remove them, but they also don't show up anywhere obvious afterward, so they quietly pile up as orphaned storage.
To remove a container and its anonymous volumes together:
docker rm -v my_container
To find and clean up volumes that are no longer attached to any container:
<a href="/article/docker-volume-vs-bind-mount" class="text-primary font-semibold hover:underline">docker volume</a> prune
Never run docker volume prune against a database or any container holding data you haven't backed up — always double-check what's mounted first. Our guide on Docker volumes and persistent storage covers this in more depth if you're setting up storage for the first time.
Common Errors and Troubleshooting
"Error response from daemon: You cannot remove a running container" — the container is still active. Either stop it first (docker stop) or use docker rm -f.
"Error response from daemon: removal of container ... is already in progress" — a previous remove command is still processing, usually because the container is stuck stopping. Wait a few seconds and retry, or use -f.
"No such container" — the ID or name doesn't match anything docker ps -a currently shows. Double-check spelling, or the container may have already been removed.
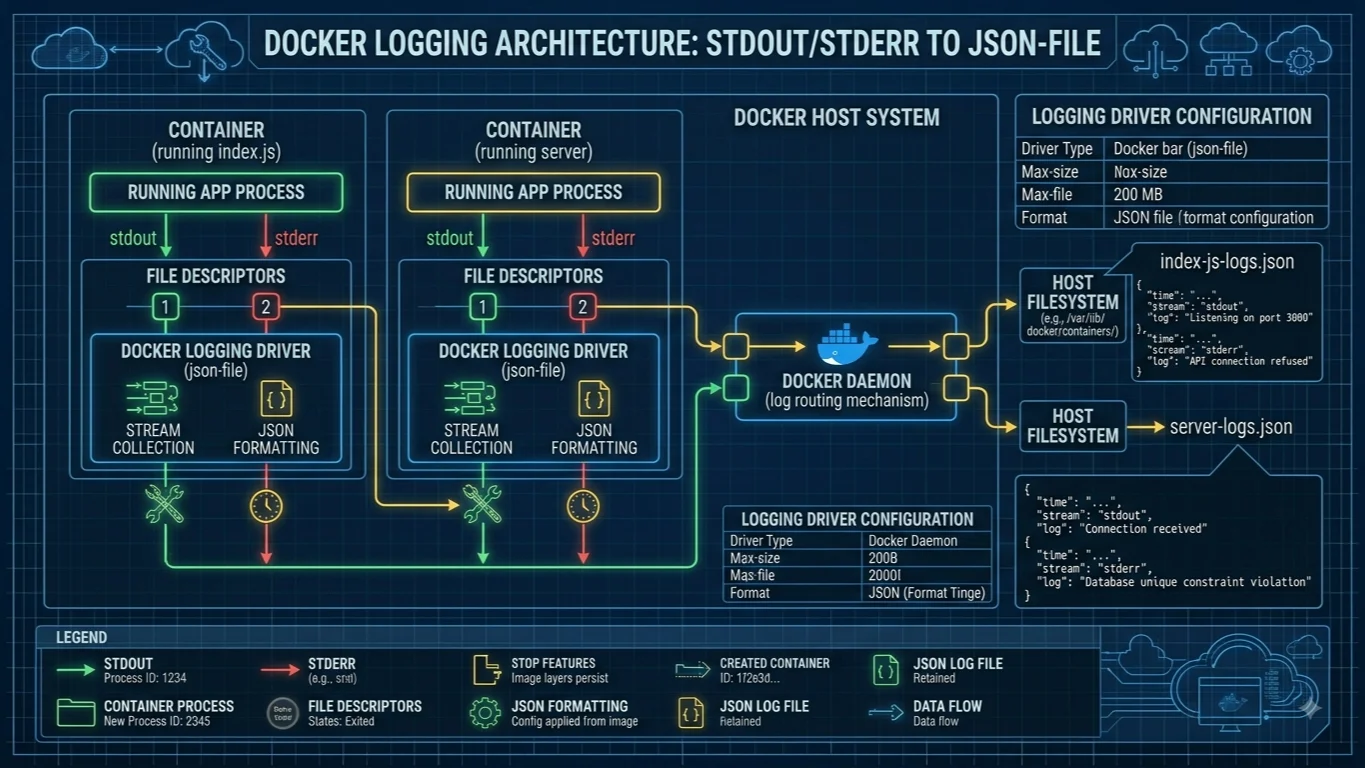
Container won't stop at all — if docker stop times out and docker rm -f also hangs, the issue is usually with the container's main process ignoring signals. Check docker logs <container> for clues before resorting to restarting the Docker daemon itself.
Verifying Container Removal
After removing a container, confirm it's actually gone:
docker ps -a | grep my_container
No output means it's been fully removed. To check how much disk space your cleanup actually freed:
docker system df
This breaks down space used by images, containers, and volumes separately, so you can see exactly where your disk space is going — and whether it's time to also prune images or volumes, not just containers.
📌 Recommended Next Guides & References
  <li>
    <a href="/article/docker-and-kubernetes-how-they-work-together-2" class="text-primary hover:underline font-semibold flex items-center gap-2">
      <span>→</span> <span>Docker and Kubernetes: How They Work Together</span>
    </a>
  </li>

  <li>
    <a href="/article/kubernetes-ingress-explained" class="text-primary hover:underline font-semibold flex items-center gap-2">
      <span>→</span> <span>Kubernetes Ingress Explained: Routing, Controllers, and TLS</span>
    </a>
  </li>

  <li>
    <a href="/article/kubernetes-ingress-controller-explained" class="text-primary hover:underline font-semibold flex items-center gap-2">
      <span>→</span> <span>Kubernetes Ingress Controller Explained: Architecture, Routing, and Implementation</span>
    </a>
  </li>