Quick Answer
Understanding the core architecture of Docker begins with grasping the fundamental distinction between its two most commonly used building blocks. At first glance, newcomers often confuse them because they work hand-in-hand to run modern applications in isolated environments. However, understanding how they interact is essential for writing efficient Dockerfiles, managing disk space, troubleshooting runtime issues, and avoiding data loss in production.
Quick Answer
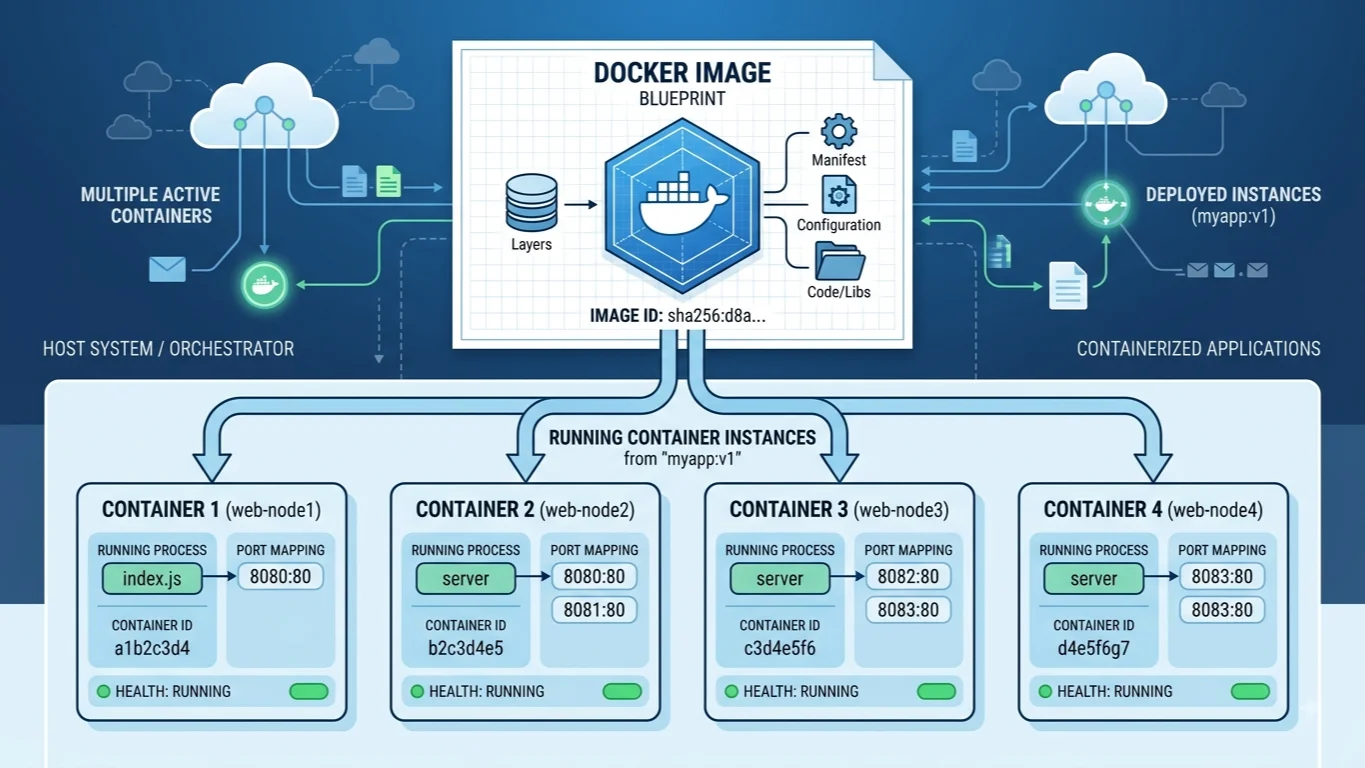
The simplest way to understand the difference is through a classic programming analogy: a Docker image is like a class blueprint or a cookie cutter, while a Docker container is like an instantiated object or the actual baked cookie. An image is a static, read-only template containing your application code, runtime, libraries, environment variables, and configuration files. A container, on the other hand, is a runnable instance of that image. When you execute a command like docker run python:3.9, Docker takes that static image, adds a lightweight, read-write layer on top, and turns it into an active, running process isolated from your host operating system.
What Is a Docker Image?
A Docker image is a standardized, immutable file package that contains everything needed to run an application. Think of it as a snapshot of a filesystem combined with metadata detailing how the process should be launched. Images are constructed layer by layer through a set of instructions defined in a text file called a Dockerfile. Each instruction in a Dockerfile—such as installing a package via apt-get, copying source files, or setting an environment variable—creates a distinct, read-only layer on top of the previous one. This layered architecture brings massive efficiency benefits through caching; if you change only your application code, Docker only rebuilds the final application layer and reuses the cached base layers from previous builds.
Every image is identified uniquely by a cryptographic hash known as an image ID, alongside human-readable repository and tag names, such as ubuntu:22.04 or node:18-alpine. These images live in local storage caches on your machine or are hosted in remote artifact registries like Docker Hub, GitHub Packages, or private enterprise registries. Because images are completely read-only, you cannot directly log into an image, modify a file inside it, or save runtime state changes back to the image file itself. Any modification requires either building a new image from a modified Dockerfile or creating a runtime instance where changes can be saved temporarily.
What Is a Docker Container?
See also: stop the container
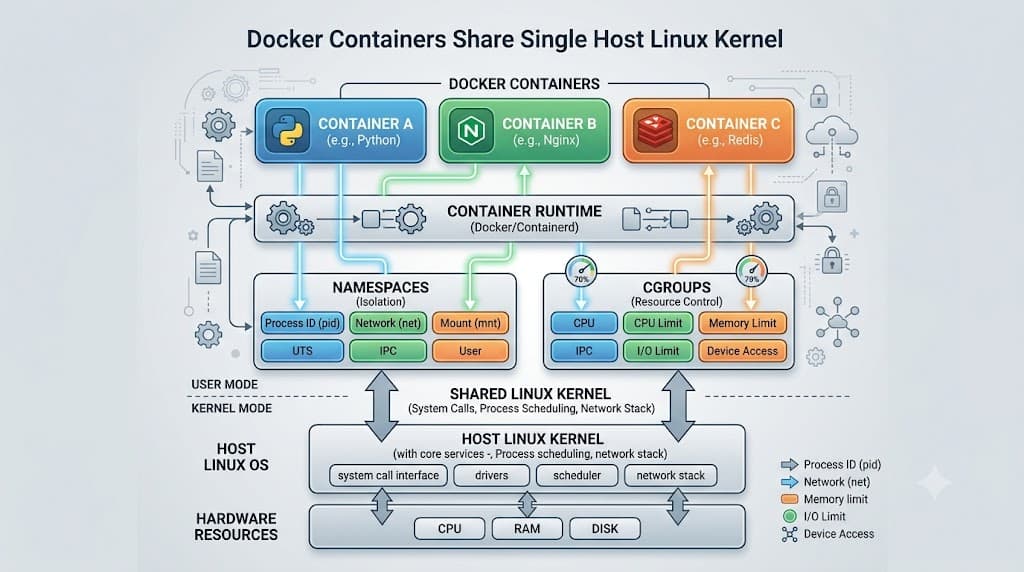
While images represent the blueprint, a Docker container is the living execution of that blueprint. When Docker spins up a container, it allocates a dedicated, isolated runtime environment. This environment includes its own private network interface, its own process space, and a dedicated virtualized filesystem. Inside this sandbox, your application executes as a standard Linux process. The container utilizes kernel-level namespaces and control groups (cgroups) provided by the host operating system to achieve this isolation without the heavy performance overhead associated with traditional virtual machines.
The container lifecycle follows distinct states: it can be created, started, running, paused, stopped, or ultimately destroyed. Every active container receives a unique container ID and a randomly assigned human-readable name if one is not explicitly provided at startup. You can run multiple instances simultaneously from a single image, and each running instance operates completely independently. If one container crashes, encounters an unhandled exception, or is manually stopped, other containers spawned from the exact same image remain entirely unaffected. This architectural decoupling of state from the template makes containerized applications exceptionally resilient, scalable, and portable across diverse developer laptops and production cloud servers.
Docker Image vs Container
To cement your understanding, it helps to examine how images and containers compare directly across several technical dimensions. When comparing image size versus container size, people are often surprised to learn that a running container adds almost zero additional storage overhead initially. An image contains all the layers required for the application to function, which can range from a few megabytes for an Alpine-based image to several gigabytes for complex machine learning environments. When a container starts, it only provisions a tiny read-write scratchpad layer on top of those read-only image layers to capture modifications made during runtime.
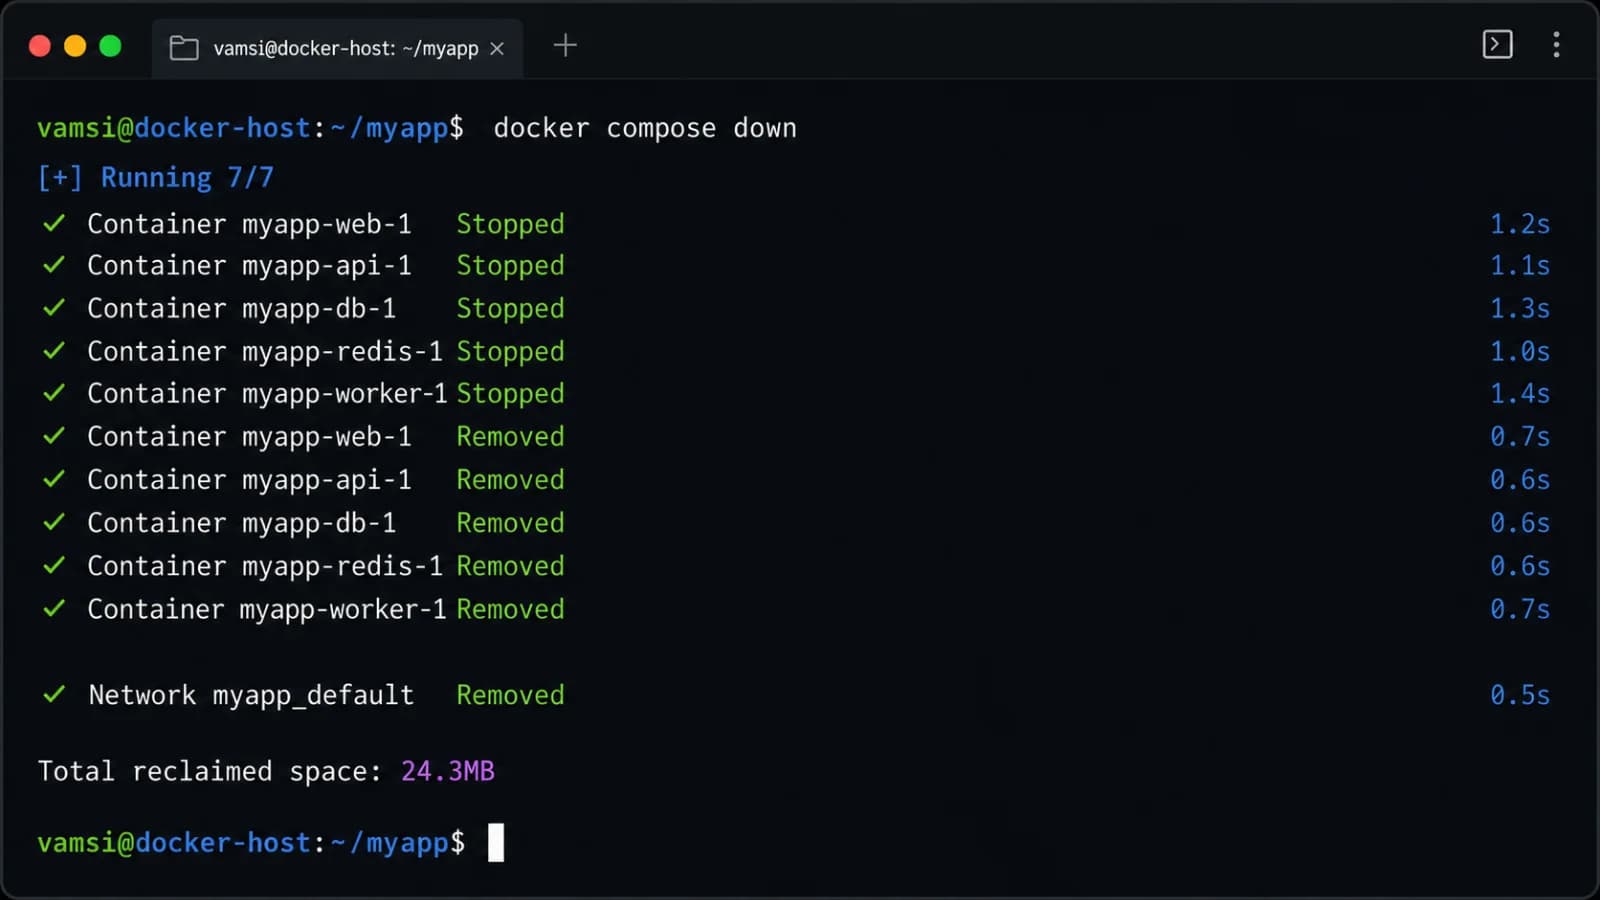
Another frequent point of confusion involves stopped containers versus images. When you stop a container using the stop command, it does not magically revert into a clean image; instead, it remains an exited container holding all the modifications made during its execution. If you restart it, those changes are preserved. If you delete the container, those runtime modifications are permanently lost unless they were written to an external volume or committed back into a brand new image. Similarly, comparing container IDs versus image IDs highlights the difference between a static cryptographic hash pointing to a stored tarball layer versus a dynamic identifier tracking an active operating system process.
How Images Become Containers
Transitioning from a static template to an active runtime instance involves a straightforward sequence of standard Docker command-line operations. First, you typically fetch a template from a remote registry to your local machine using the pull command. For example, executing docker pull nginx downloads the official web server image layers into your local Docker daemon cache. You can verify what templates are currently available on your system by running the images command, which lists all stored repositories, tags, image IDs, creation dates, and exact file sizes.
Once the template is stored locally, you transform it into a running instance using the run command. Executing docker run -d -p 80:80 --name my-web-server nginx instructs Docker to create a container named my-web-server from the nginx image, detach the process from your terminal, and map port 80 of the host machine to port 80 of the container's isolated network stack. One of the most powerful features of this architecture is reusability: you can execute that exact same run command ten times, resulting in ten distinct, concurrently running web server containers derived from the single underlying nginx image template, each handling separate traffic streams independently.
Writable Layers and Persistent Data
See also: remove the container
One of the most critical safety concepts for developers to master is how data persistence works within containerized architectures. By default, any file created, modified, or deleted inside a running container—such as a newly uploaded user file, a dynamically generated log entry, or an updated database record—is written directly to the container's thin read-write scratchpad layer. This means that if the container is stopped and subsequently removed using standard lifecycle management commands, all of those runtime modifications vanish instantly along with the container's scratchpad layer.
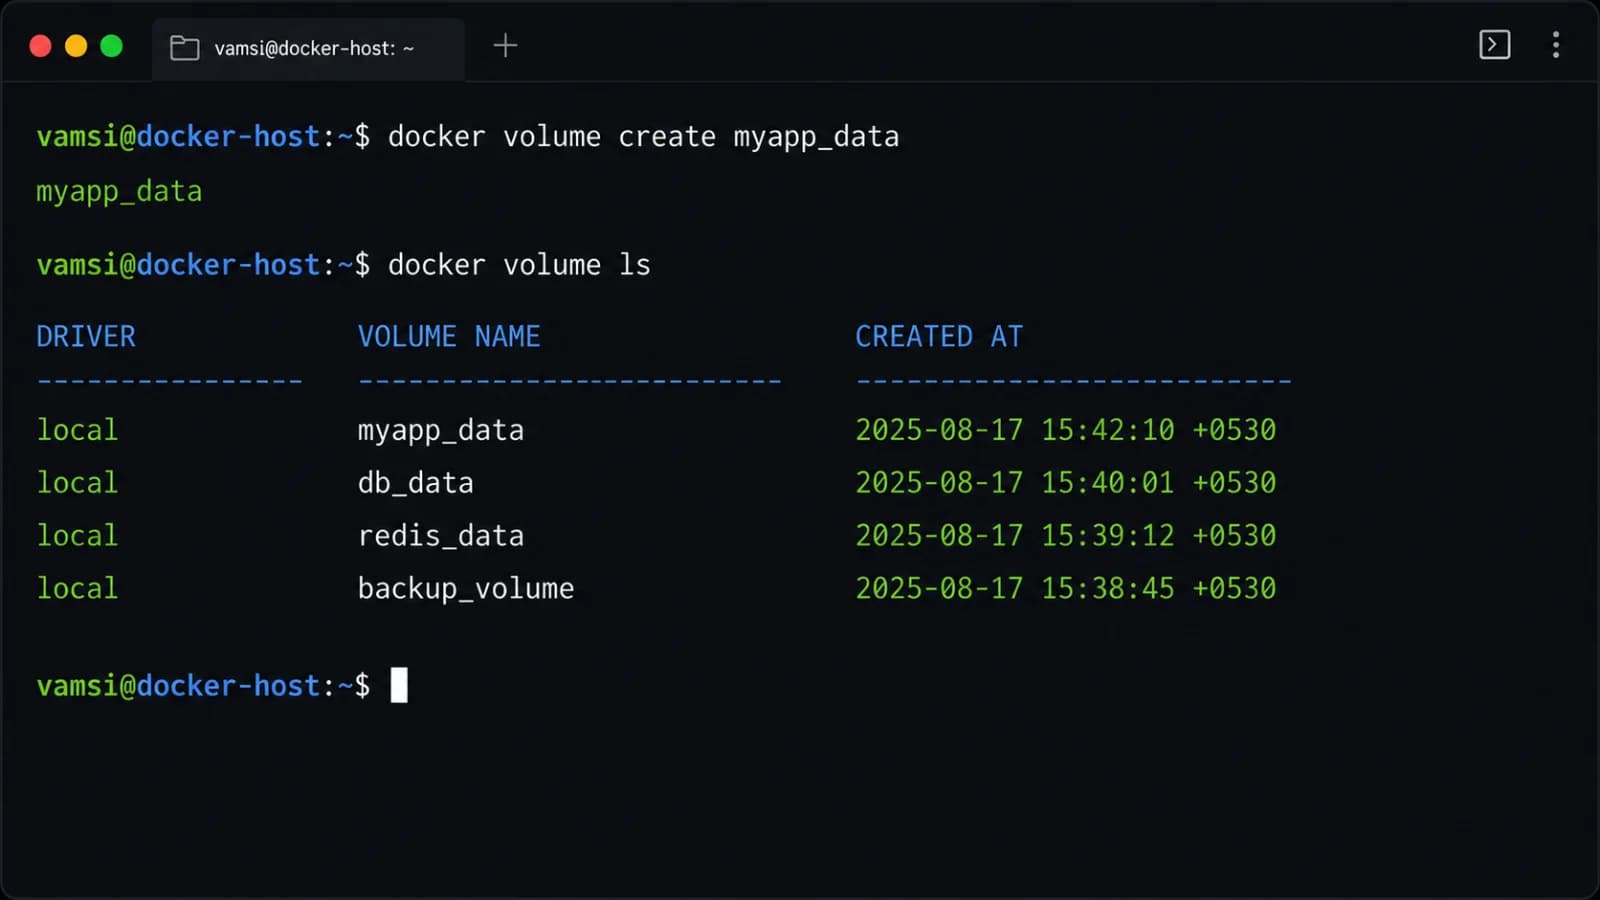
To prevent catastrophic data loss when applications require persistent storage, Docker provides external data volumes and bind mounts. Volumes are specialized directories managed entirely by Docker and stored outside the container's union filesystem lifecycle. By attaching a volume to a container during startup, your application writes critical database files or user uploads directly to the host-managed volume storage. Because volumes exist independently of the container lifecycle, you can safely stop, delete, and replace your application containers hundreds of times without risking the underlying persistent data.
Common Commands
Mastering everyday command-line tools is essential for effective container management and troubleshooting. To inspect every container on your system—including both active and stopped instances—you use the ps command with the all flag: docker ps -a. This displays container IDs, originating images, creation timestamps, current status, exposed network ports, and assigned names. When investigating unexpected runtime behavior or configuration issues, developers rely heavily on the inspect command, such as docker inspect my-web-server, which outputs a comprehensive JSON structure detailing network settings, mounted volumes, environment variables, and exact execution parameters.
When maintenance requires cleaning up old resources, specific removal commands come into play. To terminate and remove an active or stopped instance, you use the rm command, such as docker container rm my-web-server, which safely reclaims the read-write layer storage. Conversely, when you need to delete a static template from your local storage cache to free up disk space or force a fresh download, you use the rmi command, such as docker rmi nginx. Always remember that you cannot remove an image while active containers depend on it; you must stop and remove those dependent containers first before Docker allows you to delete the underlying template.
📌 Recommended Next Guides & References
  <li>
    <a href="/article/docker-and-kubernetes-how-they-work-together-2" class="text-primary hover:underline font-semibold flex items-center gap-2">
      <span>→</span> <span>Docker and Kubernetes: How They Work Together</span>
    </a>
  </li>

  <li>
    <a href="/article/kubernetes-ingress-explained" class="text-primary hover:underline font-semibold flex items-center gap-2">
      <span>→</span> <span>Kubernetes Ingress Explained: Routing, Controllers, and TLS</span>
    </a>
  </li>

  <li>
    <a href="/article/kubernetes-ingress-controller-explained" class="text-primary hover:underline font-semibold flex items-center gap-2">
      <span>→</span> <span>Kubernetes Ingress Controller Explained: Architecture, Routing, and Implementation</span>
    </a>
  </li>